An IBC tote hydroponic system turns a 275-gallon intermediate bulk container into a deep raft bed, a sump, or the base of an aquaponic loop — the jump from buckets to genuine garden scale. Cut and re-plumbed, a single caged tote that cost $30 to $80 used becomes the most thermally stable system you can build, shrugging off the swings that whipsaw a small reservoir.
This is the build for when buckets stop being enough and you want a bed of lettuce or a real summer crop. I run my hydroponics indoors at bench scale, but the IBC is where the same principles go big, and the huge water volume is its superpower: 200-plus gallons barely moves on EC or temperature between checks. This guide covers the configurations, how to cut and plumb a tote safely, and where the hydroponic raft on top differs from the aquaponic option below it.
Why an IBC tote is worth the effort
The whole argument for an IBC build is volume and stability. Everything that makes small systems twitchy — EC lurching as plants drink, temperature spiking on a warm afternoon, pH drifting fast — is buffered by sheer water mass. A 200-gallon reservoir is so slow to change that you can leave it for days and find the numbers almost where you left them. For anyone who has chased a jumpy one-gallon res, that calm is a revelation.
The second draw is cost per planting site. A used food-grade tote is cheap, and once cut into a raft bed it grows dozens of lettuce heads from a single body of water, one pump and one aeration line. The principles are exactly those of a small DWC bucket — roots in aerated nutrient water — just scaled up, and the same reservoir thinking from the reservoir master guide applies. This build sits inside the wider DIY hydroponic builds guide.
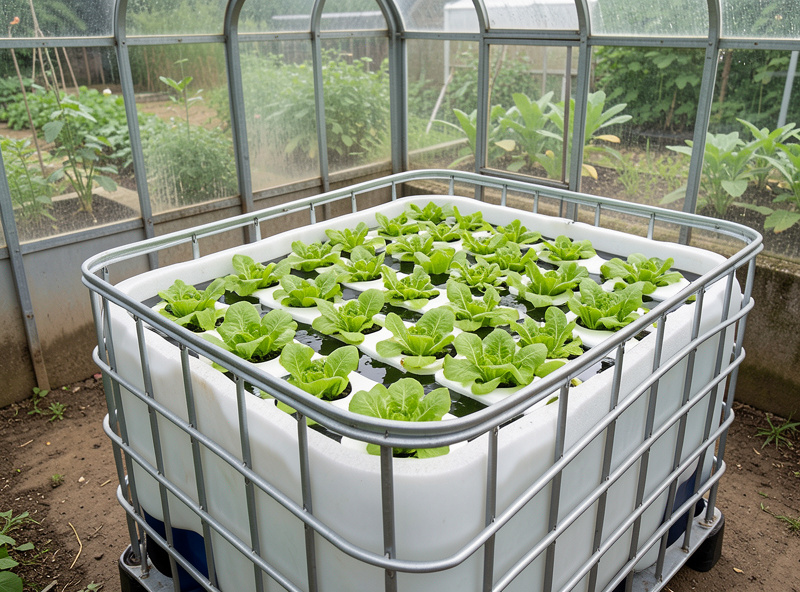
The three main IBC configurations
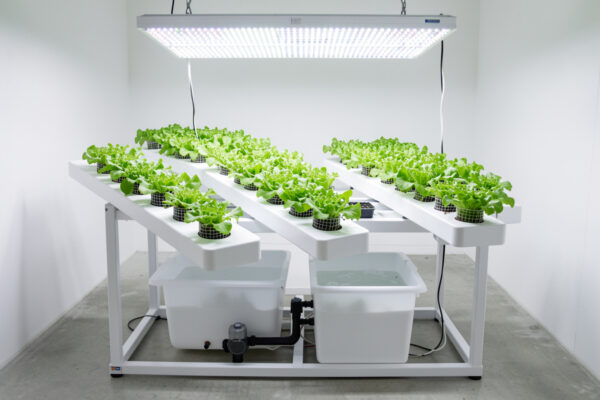
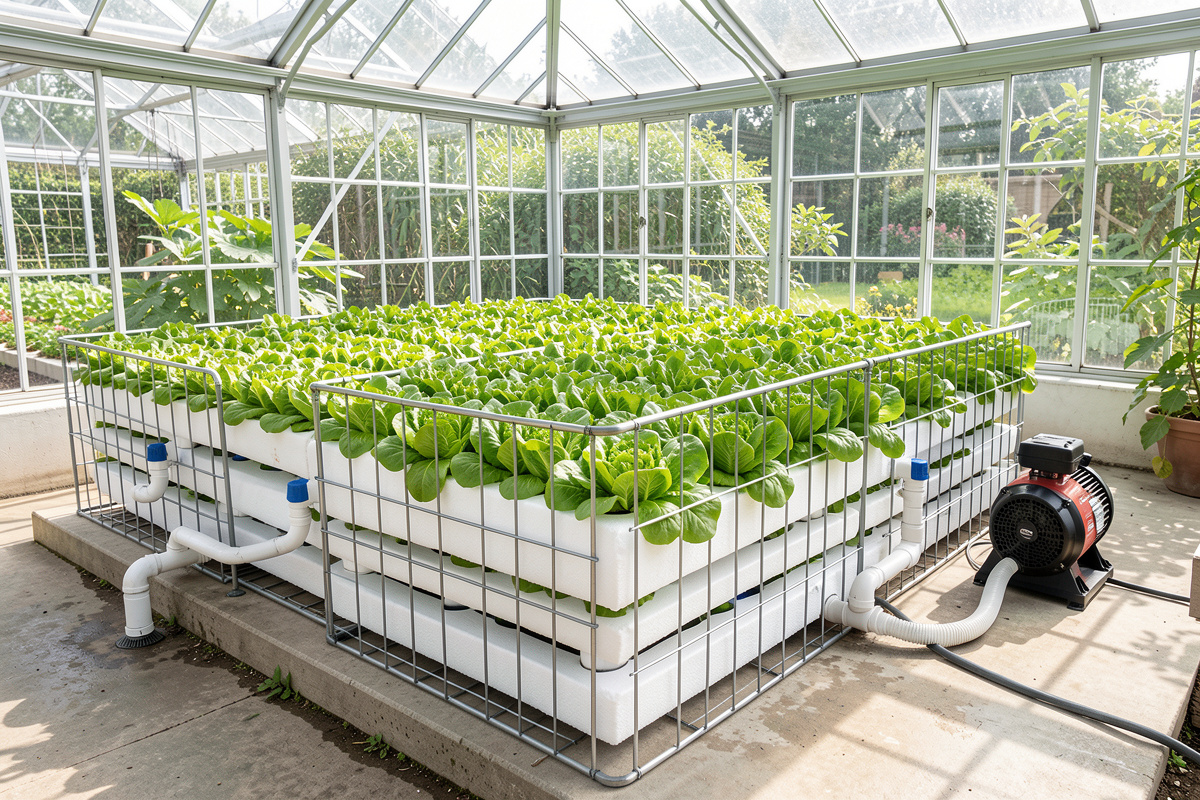
An IBC tote can become several different systems, and the cut you make at the start decides which. The simplest is a single deep raft bed — cut the top off the tote, fill it with nutrient solution, float a foam raft of net pots, and aerate. The second is a split build, where the tote is cut horizontally so the lower portion is a sump or reservoir and the upper portion is a grow bed plumbed above it. The third is the aquaponic configuration, where that lower tank holds fish and their waste feeds the plants above.
| Configuration | What you build | Best for | My take |
|---|---|---|---|
| Deep raft bed | Top cut off, foam raft, air stones | Lettuce, leafy greens at volume | Easiest, my pick |
| Split bed and sump | Grow bed over reservoir, pump fed | Mixed crops, media beds | More plumbing, more flexible |
| Aquaponic loop | Fish tank below, grow bed above | Combined fish and plants | Powerful but a separate hobby |
For a pure hydroponic grower, the deep raft bed is where I would start — it is the least plumbing for the most growing, and it plays straight to the IBC’s thermal-mass strength. The aquaponic route is genuinely rewarding, but I will be honest that the fish side is its own craft. I keep plants, not fish, so I treat aquaponic stocking and fish health as a separate discipline and defer to the aquaponics community on it; what I can speak to with confidence is the hydroponic raft sitting on top.
Cutting and plumbing a tote safely
Two things matter before you cut: sourcing and what the tote previously held. Use a food-grade IBC that carried a food product, not one that held industrial chemicals, fertiliser concentrate or anything you cannot identify — no amount of rinsing makes an unknown-chemical tote safe for food crops. A reputable used tote will tell you its prior contents. Once you have a clean food-grade tote, give it a thorough wash and rinse before building.
Cutting is straightforward with a jigsaw: mark your line, drill a starter hole, and cut slowly. The plastic is HDPE and saws easily. For plumbing, the watertight joints come from bulkhead fittings or uniseals set into drilled holes — a uniseal is a rubber gasket that takes a pipe through a drilled hole with no threads, and it is the cleanest way to plumb a tote. You can find uniseals and bulkhead fittings on Amazon sized to common PVC. As an Amazon Associate I earn from qualifying purchases. Keep the steel cage — it is structural, and a full tote of water is extremely heavy, so the cage and a level, load-bearing base are not optional.
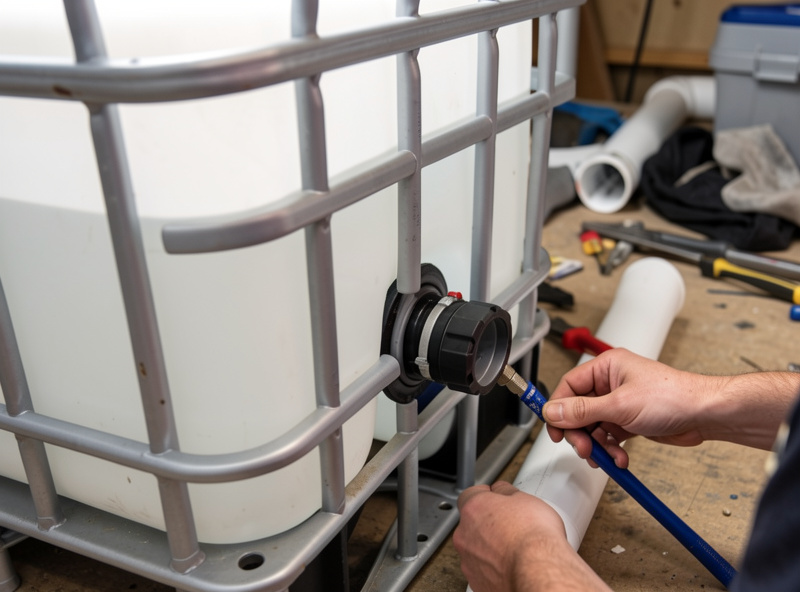
Aerating and running a large reservoir
A 200-gallon raft bed needs real aeration. A single small air stone that suits a bucket will not oxygenate a tote, so I run a larger air pump driving several air stones spread across the bed, or a regenerative blower for the biggest builds. Dissolved oxygen is still the thing that keeps roots healthy at any scale, and a big still body of warm water with weak aeration is exactly where root rot takes hold. Spread the aeration out so there are no dead zones under the raft.
The chemistry is the same story at a calmer pace. I run leafy greens at roughly 0.8 to 1.4 mS/cm EC and pH 5.5 to 6.0, checking with a calibrated EC meter. The big difference from a bucket is that the volume buffers everything, so changes are gentle and infrequent — but when you do mix nutrients or top off, you are doing it in large quantities, so measure carefully. Temperature is the one number the volume does not fully tame outdoors: a tote in direct summer sun can still warm up, so shade it and keep it below the 68°F mark, with the controls in the water temperature guide. One more practical detail: plumb an overflow drain near the top before you ever fill it. A 200-gallon tote that overtops is a serious flood, and a simple bulkhead overflow set an inch below the rim turns a potential disaster into a harmless trickle to a safe drain. I learned that one the soggy way — an early large reservoir I topped off without an overflow crept over the rim overnight and put a few litres across the floor, so now the overflow bulkhead goes in before I ever add water.
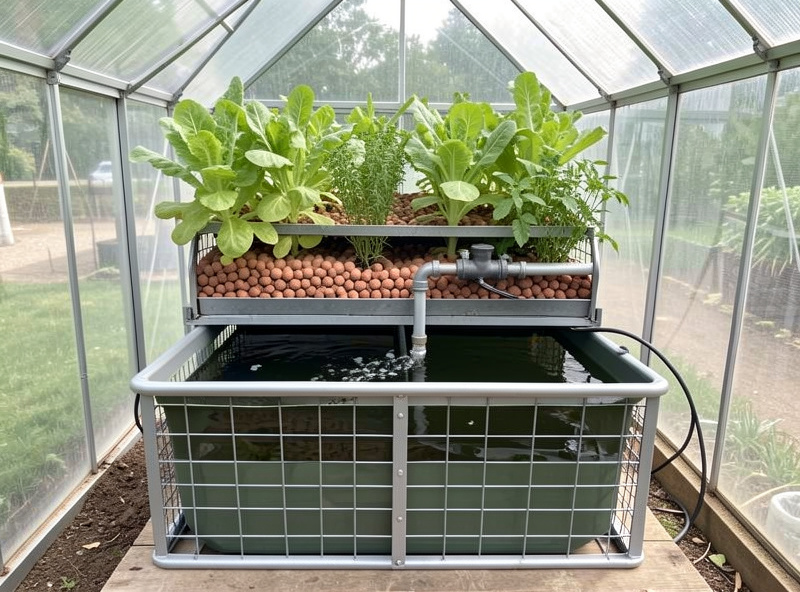
What to grow, and a note on scale
A deep raft IBC bed is made for leafy greens grown in quantity — lettuce, chard, spinach, herbs — floated across the surface in a foam raft of net pots. The even, deep, well-aerated water suits them perfectly and the volume means you can grow a genuine harvest rather than a few plants. You can also run larger fruiting crops in a split media-bed configuration, though that leans toward the more complex plumbing.
One honest caveat: an IBC is a commitment. It is heavy, it is large, and it is not something you move on a whim. Build it where it will live, on ground that can take the weight, and plan the plumbing before you cut. Done right, it is the most stable and productive DIY hydroponic system on this whole list — the calm, large-volume workhorse that makes the fiddly small-reservoir problems simply disappear.
Frequently Asked Questions
Are IBC totes safe for growing food hydroponically?
Yes, if you use a food-grade tote that previously held a food product, not industrial chemicals. Wash and rinse it thoroughly before building. Avoid any tote whose prior contents you cannot identify, since no rinsing makes an unknown-chemical tote food-safe.
How much does an IBC tote hydroponic system cost?
A used food-grade IBC tote costs $30 to $80, and a complete build runs roughly $120 to $250 once you add a pump, aeration, plumbing fittings and a foam raft. The tote’s huge volume gives the lowest cost per planting site of any build here.
How do you cut and plumb an IBC tote?
Cut the HDPE plastic with a jigsaw after drilling a starter hole. Make watertight pipe joints with uniseals or bulkhead fittings set into drilled holes. Keep the steel cage for support, since a full tote of water is extremely heavy and needs a level base.
What can you grow in an IBC raft bed?
Leafy greens at volume are ideal: lettuce, chard, spinach and herbs floated across the surface in a foam raft of net pots. Larger fruiting crops are possible in a split media-bed configuration, which needs more plumbing than a simple deep raft.
Can you make an IBC tote into aquaponics?
Yes. A common configuration puts fish in the lower caged tank and a grow bed above, with the fish waste feeding the plants. The hydroponic grow bed is straightforward, but fish stocking and health are a separate discipline worth researching on their own.
How much aeration does an IBC tote need?
Far more than a bucket. Run a larger air pump driving several air stones spread across the bed, or a regenerative blower for the biggest builds, so there are no low-oxygen dead zones under the raft where root rot can start.
Why is an IBC tote more stable than a bucket?
Its 200-plus gallons of water act as a buffer, so EC, pH and temperature change slowly and gently between checks. A small reservoir swings fast as plants drink; a tote barely moves, which makes it the most forgiving system to run.