A DIY hydroponic build is any soilless growing system you assemble yourself from off-the-shelf containers, net pots, an air or water pump, and a nutrient reservoir — and a working one starts at under $40. After running deep water culture, NFT, Kratky and ebb-and-flow side by side on my own bench, the honest answer is that the system you build first matters far less than whether you measure what is happening inside it. This DIY hydroponic systems guide walks through seven builds you can make yourself, from a five-dollar jar to a garden-scale tote.
That is the thread running through every build on this page. I am not going to tell you there is one perfect rig, because there is not. What I can tell you — from years of logging EC, pH and reservoir temperature across the methods I run under one roof in a cold Swedish spare room — is which build suits which crop, which corners you can cut, and which ones will quietly drown your roots if you do. This is the master guide to the seven DIY builds in the cluster, with the parts, the numbers, and the failure modes for each.
What a DIY hydroponic build actually is (and which one to build first)
A DIY hydroponic build is a homemade soilless system where plant roots sit in or above a nutrient solution instead of soil, with you supplying the container, the aeration, and the plumbing rather than buying a sealed kit. The cheapest credible build — a single Kratky mason jar — costs a few dollars; a recirculating multi-site rig can run past $200. The capability gap between them is smaller than the price gap.
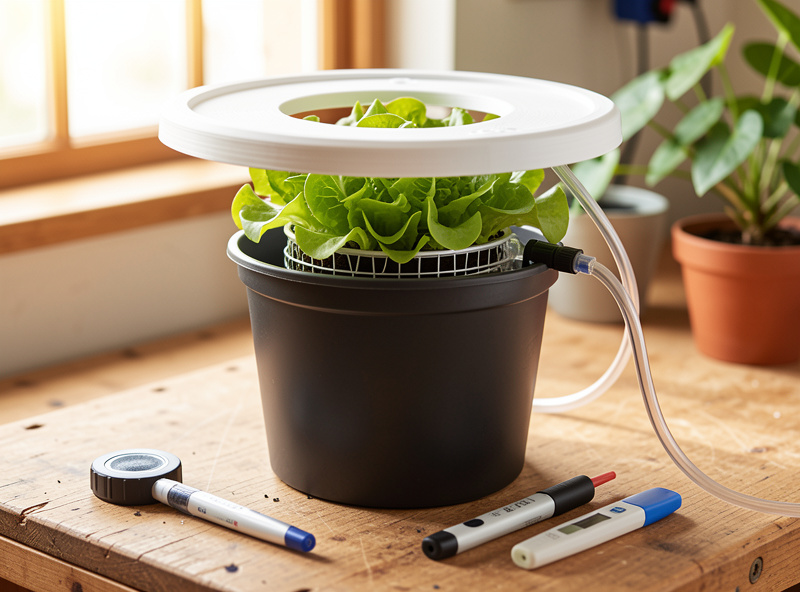
If you are starting cold, build a DIY deep water culture bucket first. It is the system I start every beginner on because it has exactly one moving part (an air pump), it gives near-instant feedback when something is wrong, and it scales straight into a 5-gallon bucket system once you trust your numbers. Deep water culture is also the baseline I measure every other method against, so learning it teaches you the instincts that transfer everywhere else. If you want the full method theory behind it, the complete DWC guide goes deeper than I can here.
The seven builds in this guide, and when each one wins
Every build below grows plants without soil, but they diverge on power use, crop type, footprint and cost. The short version: passive methods (Kratky) need no electricity and suit a windowsill; recirculating methods (NFT, towers) move water and suit leafy greens at volume; bucket methods (DWC, Dutch-style 5-gallon) suit big thirsty fruiting plants; and bulk builds (IBC tote) suit anyone growing at garden scale. Here is how they line up.
| Build | Method | Power needed | Best crops | Rough cost | Skill |
|---|---|---|---|---|---|
| Mason jar Kratky | Passive DWC | None | Lettuce, herbs | $5 to $15 | Beginner |
| DIY DWC bucket | Deep water culture | Air pump | Lettuce, basil, chard | $25 to $45 | Beginner |
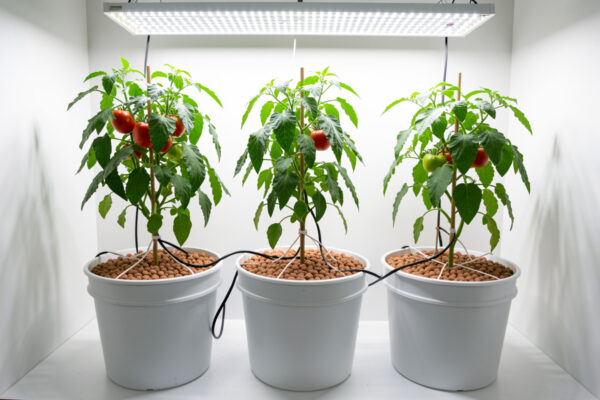
| 5-gallon bucket | DWC or drip | Air or water pump | Tomatoes, peppers | $30 to $60 | Beginner |
| PVC NFT system | Nutrient film | Water pump | Lettuce, herbs at volume | $60 to $120 | Intermediate |
| Vertical tower | Drip or NFT | Water pump | Strawberries, greens | $80 to $150 | Intermediate |
| IBC tote build | DWC, raft or aquaponic | Pump plus aeration | Mixed, at scale | $120 to $250 | Intermediate |
| 3D-printed parts | Components for any build | N/A | Custom lids, collars | Filament cost | Maker |
Read those cost figures as build cost, not running cost. The expensive part of any system over a year is not the bucket — it is the nutrients, the electricity for the pump and lights, and the crop you lose when you guess instead of measure. If you are still deciding which method fits your space and goals, my method decision guide walks through the trade-offs crop by crop.
The parts every DIY build shares
Strip away the format and every build on this page is the same five things: a light-proof reservoir, something to hold the plant at the waterline, a way to oxygenate the root zone, a nutrient solution mixed to a target EC, and a way to measure that you got it right. Get those five correct and the container is almost an afterthought.
The reservoir must be opaque — light in the water grows algae, which competes with your roots for dissolved oxygen and fouls your readings. Any food-grade opaque tub works; the reservoir setup guide covers plumbing and the sizing guide covers how much volume a given crop count actually needs. Net pots (2-inch and 3-inch are the workhorse sizes) hold the plant in a rockwool cube or clay pebbles at the surface. Aeration means an air pump and air stone for still-water builds, or the falling-water action of a recirculating build; either way, roots starved of dissolved oxygen are the single most common reason a DIY build stalls, which is why dissolved oxygen gets its own deep dive.
For nutrients, you mix a concentrate to a target electrical conductivity rather than measuring by spoonfuls. I run the General Hydroponics Flora trio and Masterblend as my dry workhorse, and I cover the actual mixing in how to mix nutrient solution and the brand landscape in the nutrients guide. A basic starter set of net pots, an air pump and clay pebbles is the one part of a DIY build worth buying rather than improvising — you can find net-pot and air-pump starter sets on Amazon for the price of a takeaway. As an Amazon Associate I earn from qualifying purchases.
The last shared piece is growing media — the inert stuff that holds the plant upright in the net pot while the roots find the water. The two I reach for are rockwool cubes for starting seeds (they wick beautifully and transplant cleanly into any build) and clay pebbles, or hydroton, for filling the net pot around an established plant. Clay pebbles are reusable for years if you rinse and sterilise them between crops, which makes them the cheapest medium over time despite the higher upfront cost. Avoid anything that breaks down or compacts — the whole point of a soilless build is that the root zone stays open and oxygenated, and a clogged medium quietly undoes that.
Deep water culture: the build I start everyone on
Deep water culture suspends net pots in a lid over a reservoir of aerated nutrient solution, so the roots hang directly in oxygenated water. It is the highest-performing simple build there is: a single bucket grows a head of lettuce in roughly 30 days, and beginners hit a high first-attempt success rate because the system tells you immediately when the water is too warm or the air pump quit.
There are two builds in this guide on the DWC family. The single DIY DWC bucket is the teaching rig — one bucket, one plant, one air stone, the clearest possible feedback loop. The 5-gallon bucket system takes the same principle and sizes it up for fruiting crops that drink hard, like tomatoes and peppers, where the extra volume buffers EC and temperature swings. Both live or die on reservoir temperature: keep it below 68°F and Pythium rarely gets a foothold; let it climb past 72°F in summer and you are racing root rot. The water temperature guide covers the chiller-versus-frozen-bottle options I actually use.
NFT and vertical towers: moving water for leafy greens
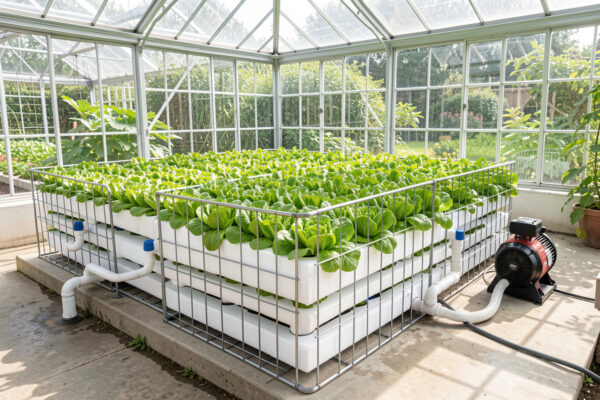
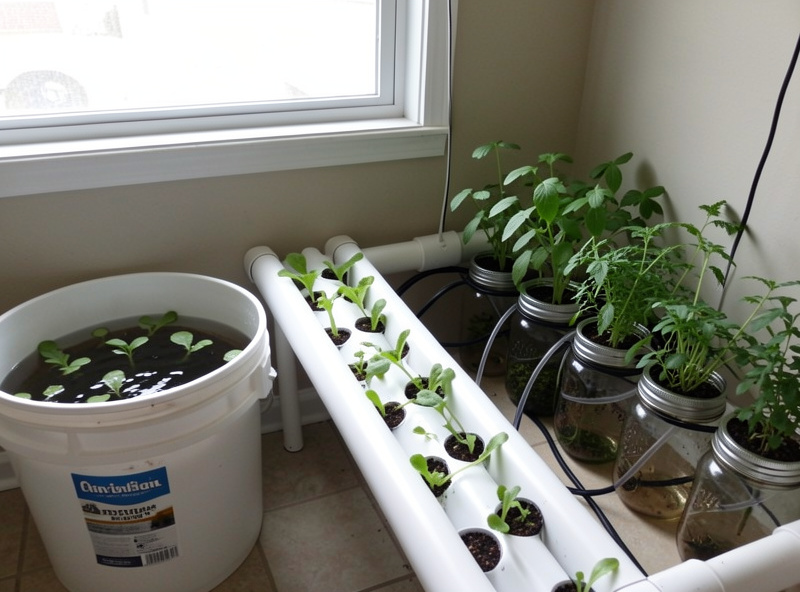
Where DWC holds water still, the nutrient film technique runs a thin, shallow film of solution down a sloped channel so roots get water and air at once. It is the build to graduate to when you want lettuce and herbs at volume rather than one plant at a time. My PVC NFT build walks through cutting standard fence-post or down-pipe PVC, setting the critical 1-in-30 to 1-in-40 slope, and tuning flow rate and film depth — the two numbers most NFT builds get wrong. The NFT method explainer covers why that film depth matters.
A vertical hydroponic tower takes the same moving-water idea and stacks it, dripping solution down through a column of planting sites so a single square foot of floor grows a dozen strawberry or lettuce plants. Towers are the most space-efficient DIY build by far, which matters enormously in a small indoor footprint — the same logic behind the broader vertical gardening systems approach. The trade-off is even nutrient distribution top to bottom, which I cover in the tower build.
Kratky: the build with no pump and no power
The Kratky method is passive deep water culture: you fill a sealed jar with nutrient solution, suspend a net pot so the bottom of the cube just touches the surface, and walk away. As the plant drinks, the water level drops and leaves a widening air gap, so the lower roots feed and the upper roots breathe — no pump, no electricity, no top-ups. It is the zero-power control method I use to teach fundamentals, because it strips hydroponics down to its absolute essentials.
The mason jar Kratky build is the cheapest way into hydroponics that exists — a jar, a net-pot lid, and a few dollars of nutrients grows a head of lettuce on a windowsill with zero running cost. It will not feed a tomato to harvest (the reservoir is too small to buffer a heavy feeder), but for greens and herbs it is genuinely hard to beat on simplicity. The full Kratky method guide covers crop selection and the common mistake of starting the water level too low.
Scaling up: IBC totes and 3D-printed parts
When you outgrow buckets, the IBC tote build is the jump to garden scale. A 275-gallon intermediate bulk container, cut and re-plumbed, becomes a deep raft bed, a sump, or the foundation of an aquaponic loop — I treat the aquaponic fish side as an outsider, but the hydroponic raft on top is squarely in my wheelhouse. The huge water volume makes an IBC build the most thermally stable system on this page: it shrugs off the temperature and EC swings that whipsaw a small jar.
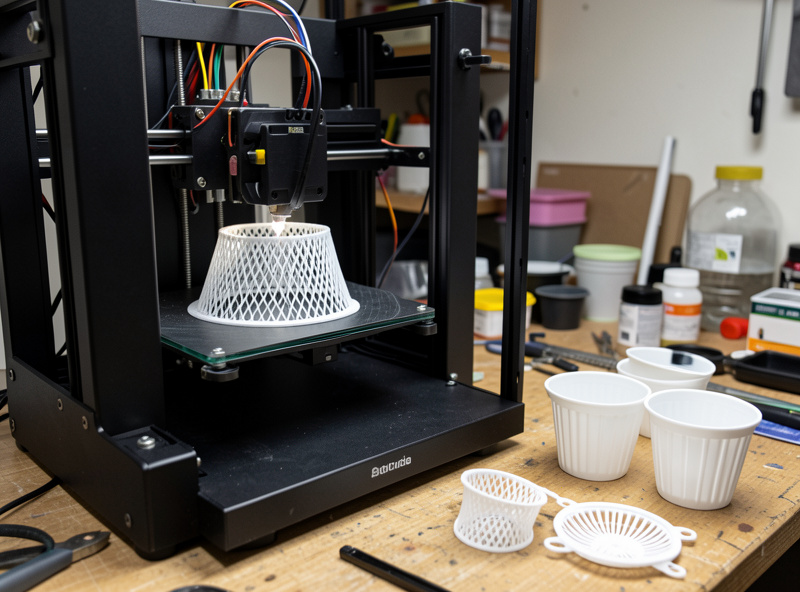
The connective tissue across all of these is parts that fit your build exactly, and that is where the maker bench earns its keep. I print my own reservoir lids, net-pot collars, sensor mounts and hose guides on the same 3D printer that feeds the rest of my projects, and the 3D-printed hydroponic parts build covers which components are worth printing, food-safe filament choices, and the models I actually use. If you want to go deeper on the printer side, my 3D-printing site PrintForge HQ covers the hardware in detail — the same printer prints these reservoir lids and the hose guides for my welding bench.
EC, pH and temperature: the layer that makes any build work
This is the section most DIY guides skip, and it is the one that actually separates a thriving build from a dead one. The container is hardware; the water chemistry is the system. Every build above lives inside three numbers: electrical conductivity (how concentrated the nutrients are), pH (whether the plant can absorb them), and reservoir temperature (how much oxygen the water can hold and whether pathogens thrive).
I mix to a target EC rather than by feel — roughly 0.8 to 1.2 mS/cm for seedlings and leafy greens, climbing toward 2.0 to 2.4 for fruiting crops — and I hold pH in the 5.5 to 6.0 absorption band where nutrient lockout is least likely. A calibrated EC meter and a pH pen are the two tools I would never build without; they cost less than one failed crop. Whatever you build, log those numbers per reservoir. The makers who succeed at DIY hydroponics are not the ones with the fanciest rig — they are the ones who write down what their pen actually reads and change the water on a schedule. If you want the absolute beginner on-ramp before you build, start with hydroponics for beginners and the systems overview.
What a DIY build actually costs versus a kit
A countertop hydroponic kit runs $100 to $300 and grows six small plants. The same money in DIY parts builds a multi-bucket DWC row, a PVC NFT channel, or an IBC raft that grows ten times the volume — and you can repair it for the cost of a fitting instead of a proprietary cartridge. That is the whole argument for building. My sub-$50 DIY builds piece proves you can get growing for the price of lunch, and even smart-sensor automation, covered in Wi-Fi pH and EC monitoring, is cheaper to bolt onto a DIY rig than to buy baked into an appliance.
The catch is that DIY puts the measurement burden on you. A kit hides the chemistry; a DIY build exposes it. That exposure is exactly why DIY growers get better faster — you cannot ignore an EC reading you took yourself. Build cheap, measure honestly, and pick the rig that matches your crop and your space rather than the one with the best marketing.
Lighting any DIY build: the number warm-climate growers ignore
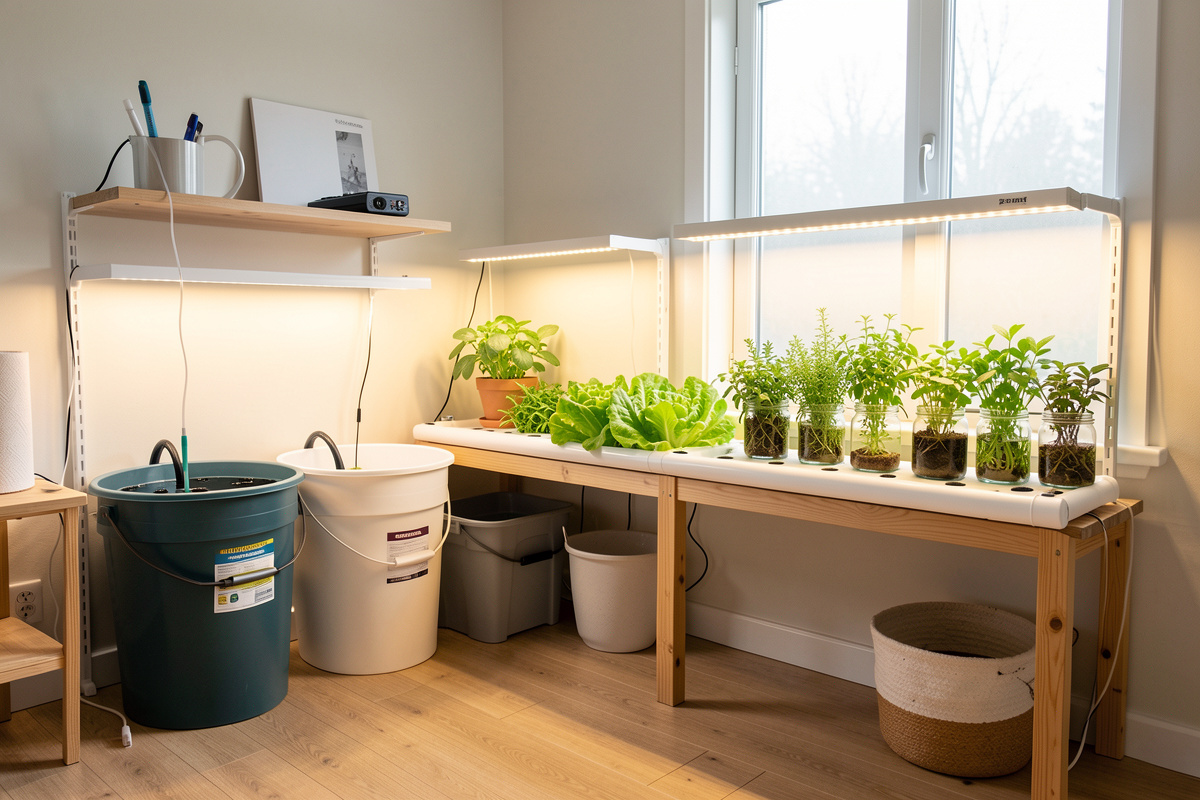
You can build the perfect reservoir and still grow pale, stretched plants if the light is wrong, and this is where growing in Sweden taught me something most channels never have to solve. The container does not care about latitude, but the crop does: a lettuce head wants roughly 12 to 17 mol of light per square metre per day (its daily light integral, or DLI), and in a Nordic winter the sun delivers almost none of that indoors. So light is not optional on a DIY build here — it is the build.
I run full-spectrum LED bars at a measured PPFD rather than guessing by brightness, and I check the hang height with a PAR meter instead of trusting the box. For leafy greens I aim for around 200 to 300 micromoles per square metre per second at canopy height on a 14- to 16-hour photoperiod; fruiting crops want more, closer to 400 to 600, with the light dropped nearer the canopy as the plants establish. The two guides I lean on most are PPFD and DLI for hydroponics for the numbers and how to choose and hang grow lights for the hardware. A simple smart plug turns the photoperiod into a set-and-forget schedule — the same control-loop thinking I apply to the rest of the build, and the reason the “smart” in SmartHydroLab is really about the loop, not the gadget.
The mistake I see constantly is people spending on a clever system and then lighting it with whatever desk lamp was lying around. A cheap fixture run at the wrong distance is the costliest grow you can run, because it wastes the nutrients, the water and the weeks. If budget is tight, spend it on light and measurement before you spend it on the fanciest container.
The five mistakes that kill DIY builds
Across every method I run, the same handful of errors account for nearly all the dead crops — and none of them are about the container being wrong. They are about the water and the root zone. Fix these five and your first DIY build has every chance of working.
One: warm reservoir water. Warm water holds less dissolved oxygen and breeds Pythium, so a res that drifts past 72°F is the most common silent killer. Keep it below 68°F — shade the reservoir, move it off a warm floor, or float a frozen bottle in summer. I learned that one the expensive way: a res I left sitting on a warm floor over a summer weekend crept into the mid-70s°F, and I came home to brown, slimy roots and a lettuce crop that was a total write-off. Two: a dead or undersized air pump. In still-water builds the air stone is the lungs of the system; size it for the reservoir volume and run it 24 hours a day, never on a timer. Three: light leaking into the reservoir. Any translucent container or open lid grows algae within days, which steals oxygen and fouls every EC reading. Opaque everything.
Four: guessing the nutrients. Mixing by the cap instead of to a target EC is how people both starve and burn their plants in the same week; a $20 EC pen ends the guessing permanently. Five: never changing the water. As plants drink, the nutrient ratios drift out of balance even when the EC looks fine, so a full reservoir change on a schedule resets the chemistry. I cover the cadence I actually use in the reservoir guides above, and the failure modes in detail in the reservoir master guide. Get those five right and the choice between a bucket, a channel and a tower becomes what it should be — a preference, not a gamble.
Frequently Asked Questions
What is the easiest DIY hydroponic system to build first?
A single deep water culture bucket. It has one moving part, costs $25 to $45, grows a head of lettuce in about 30 days, and gives instant feedback when reservoir temperature or aeration goes wrong, which makes it the best teaching rig.
How much does it cost to build a DIY hydroponic system?
A mason jar Kratky build costs $5 to $15, a DWC bucket $25 to $45, a PVC NFT system $60 to $120, and an IBC tote build $120 to $250. The real annual cost is nutrients, pump electricity and lighting, not the container.
What do I need to buy that I cannot DIY?
Net pots, an air pump and air stone, nutrients, and a calibrated EC meter and pH pen. You can improvise the reservoir, lid and plumbing, but accurate measurement tools and proper nutrients are worth buying rather than skipping.
Can I build a hydroponic system without a pump?
Yes. The Kratky method is fully passive, using no pump or electricity. A sealed jar of nutrient solution feeds the lower roots while a growing air gap feeds the upper roots. It suits lettuce and herbs but not heavy fruiting crops.
What size reservoir does a DIY build need?
Roughly half a gallon to one gallon of solution per leafy plant and two to three gallons per large fruiting plant. Bigger reservoirs buffer EC, pH and temperature swings, which is why a 5-gallon bucket is more forgiving than a small jar.
Is DIY hydroponics cheaper than buying a kit?
Yes, dramatically. A $100 to $300 countertop kit grows about six small plants, while the same money in DIY parts grows roughly ten times the volume and is repairable with cheap standard fittings instead of proprietary cartridges.