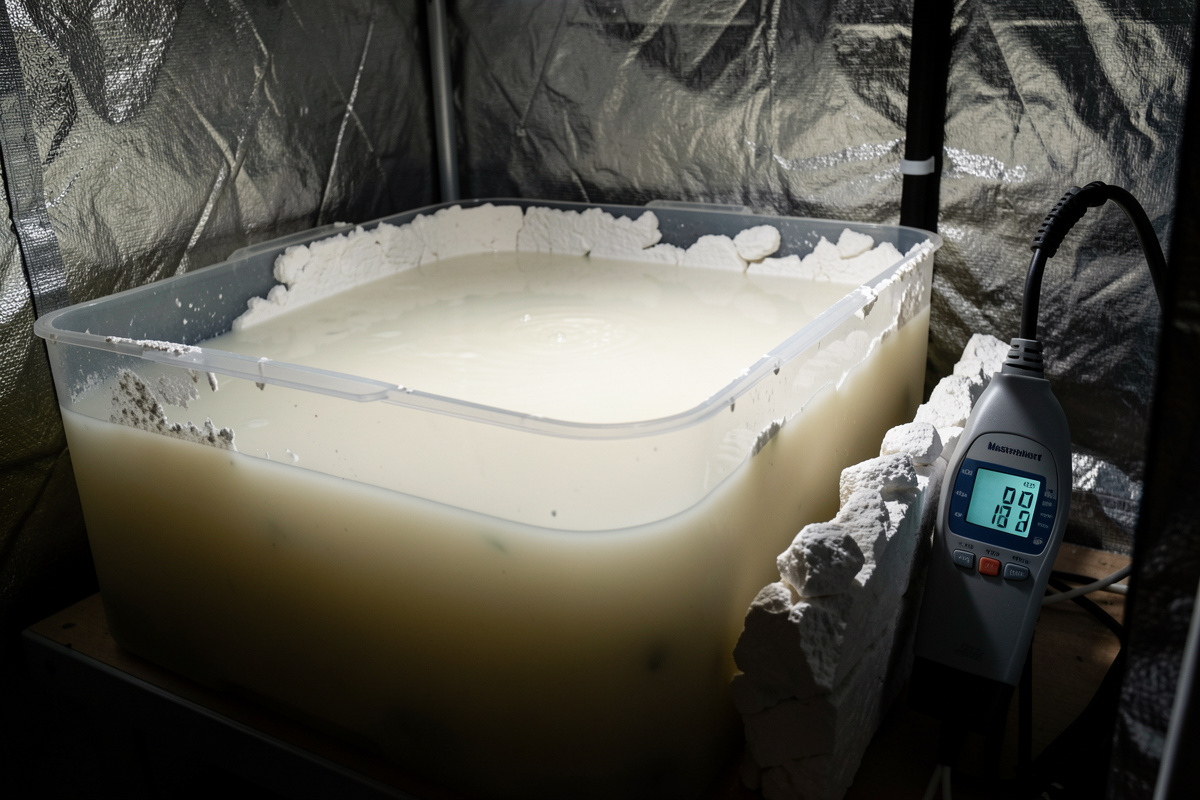
If your Masterblend reservoir has turned milky and there’s white chalk crusting the tote walls and pump, you’re watching calcium fall out of solution. That precipitate is calcium sulfate and calcium phosphate, and it usually drops in minutes when salts are over-concentrated or pH climbs past 6.5.
I’ve cooked a res into a cloudy mess myself, so this isn’t theory. Below I’ll walk you through diagnosing exactly what the chalk is, the five things that cause it, how to recover a clouded reservoir right now, and the mixing routine that has kept my DWC totes and ebb-and-flow bed crystal clear ever since. I run Masterblend dry salts alongside the full Masterblend system, log EC and pH on every res, and mix to a target EC rather than by feel — that discipline is what stops the chalk before it starts.
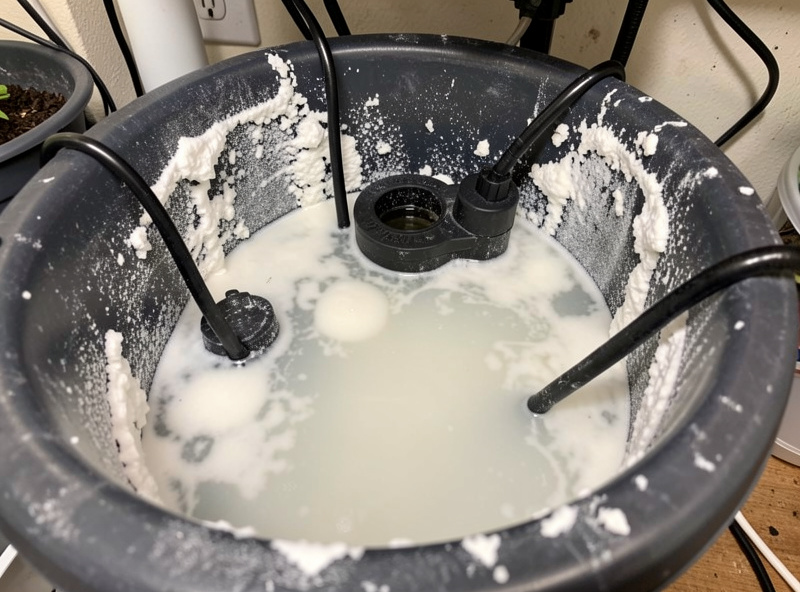
What the white chalk actually is
The cloudiness is precipitated calcium compounds. Calcium from your calcium nitrate bonds with sulfate from Epsom salt to form calcium sulfate — gypsum — and with phosphate from the 4-18-38 to form calcium phosphate. Both are near-insoluble, so they fall out as white chalk.
This matters because the chalk isn’t just ugly — it’s nutrients leaving solution. Masterblend 4-18-38 carries 18% phosphate, calcium nitrate (15.5-0-0) is roughly 19% calcium, and Epsom (MgSO4·7H2O) is your sulfate and magnesium source. When calcium grabs sulfate and phosphate and drops to the bottom, your plants lose access to calcium, phosphorus, and sulfur all at once. The EC pen will still read a number, but the solution behind that number is now unbalanced. A cloudy res isn’t a cosmetic problem; it’s a feeding problem.
The key insight is that these reactions only happen when the ions are crowded together. In a full, properly diluted reservoir at the right pH, calcium, sulfate, and phosphate coexist happily. They only react and precipitate when you concentrate them — in an undissolved clump, in too little water, or when high pH tips the chemistry toward those insoluble compounds. Get the concentration and pH right and the chalk has no way to form.
The five causes of Masterblend precipitation
Cloudy Masterblend almost always traces to one of five things: wrong mixing order, salts not dissolved separately, too little water when combining, pH above 6.5, or hard tap water already loaded with calcium and carbonates. Fix the cause, not just the symptom.
1. Wrong mixing order. The single most common mistake. If you tip calcium nitrate into water that already holds undissolved or concentrated Masterblend and Epsom, the calcium meets a dense pocket of phosphate and sulfate and reacts on contact. Calcium nitrate must always go in last, fully pre-dissolved, into a moving, already-diluted solution. I cover the order in detail in my calcium nitrate and Masterblend mixing guide.
2. Salts not dissolved separately. Dry salts dumped together into one jug create local hot spots of high concentration even before they fully dissolve. Each salt should dissolve completely in its own water first, so that when they meet they’re already diluted and gentle.
3. Too little water volume. Mixing a concentrated stock — say full-strength nutrients in a small jug — packs the ions tight enough to react regardless of order. This is why I keep calcium nitrate (Part A) physically separate from Masterblend plus Epsom (Part B) and never store them combined as a concentrate.
4. pH too high. Above pH 6.5 the chemistry strongly favors calcium phosphate and calcium carbonate precipitation. I’ve watched a res go cloudy purely because the pH drifted up overnight. Keeping the reservoir in the 5.5–6.0 band isn’t just for nutrient uptake; it actively keeps calcium in solution.
5. Hard tap water. If your tap already carries high calcium and carbonate hardness, you’re starting the reaction before you add a single salt. The dissolved carbonates push pH up and add background calcium, both of which favor precipitation. If that’s your situation, my RO vs tap water comparison lays out when softened or reverse-osmosis water is worth it.
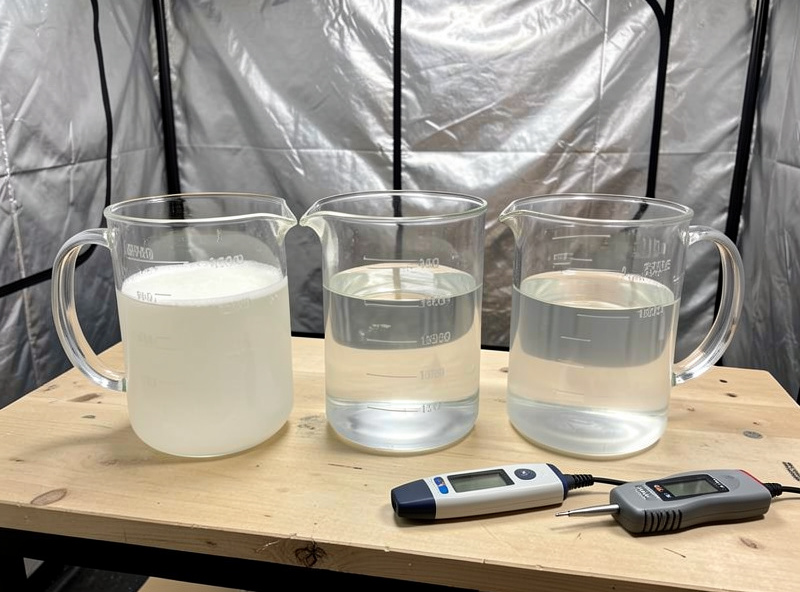
How to recover a clouded reservoir right now
The reliable cure for a cloudy res is a full res change mixed correctly. Lowering pH into the 5.5–6.0 band can re-dissolve some of the precipitate, but once gypsum and calcium phosphate have crusted on the walls, a clean remix is the only way to guarantee balanced nutrition again.
Here’s the sequence I run when a tote has gone milky:
Step 1 — Check the pH first. Pull a reading. If it’s drifted above 6.5, that’s your smoking gun. Calibrate your EC pen against 1.413 mS/cm standard while you’re at it, because a drifted pen may have hidden the problem building. A trustworthy hydroponic TDS/EC meter earns its keep here.
Step 2 — Try a pH correction if the cloud is light. If the haze is mild and just appeared, dose pH down to bring the reservoir into 5.5–6.0 and circulate. Some freshly precipitated calcium will re-dissolve as the pH drops. Give it a couple of hours of circulation and re-read. I keep a bottle of pH down for hydroponics on the shelf for exactly this. But be honest about how far gone it is — heavy chalk on the walls won’t come back.
Step 3 — Dump and rebuild if the cloud persists. If circulating at the right pH doesn’t clear it within a few hours, drain the reservoir. The dissolved nutrient balance is already wrecked, so chasing it with more salts only compounds the problem.
Step 4 — Scrub the precipitate off. Gypsum and calcium phosphate cling to plastic and coat air stones and pumps. Scrub the tote, lines, and pump before refilling — leftover chalk acts as seed crystals that make the next batch precipitate faster. My full process is in the clean hydroponic reservoir guide.
Step 5 — Mix a fresh batch the right way. Refill with clean water and follow the prevention routine below. Bring it back to your target EC — for a full Masterblend dose that’s roughly 2.0–2.4 mS/cm — and confirm the solution stays clear for an hour before you trust it on the plants.
As an Amazon Associate I earn from qualifying purchases.
The mixing routine that prevents chalk forever
Precipitation is entirely preventable with discipline: dissolve each salt fully in its own water, add to a full reservoir in the order Masterblend → Epsom → calcium nitrate last, keep pH at 5.5–6.0, and never store an over-concentrated stock. Do this and the chalk never forms.
This is the exact routine I use on every res change across my DWC, NFT, and ebb-and-flow systems:
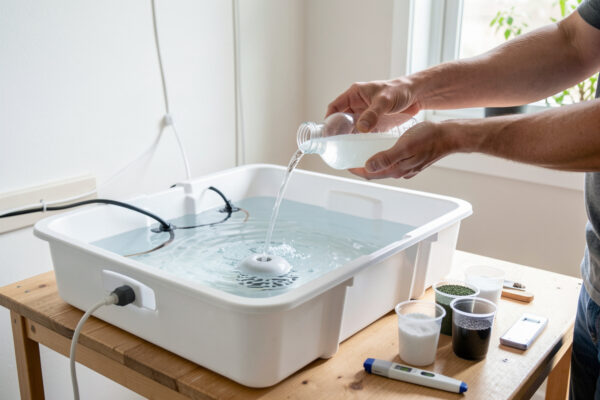
Start with a full reservoir. Fill with your full volume of clean water first. Volume is your friend — diluted ions can’t crowd together to react. Never combine salts in a small amount of water and top up afterward.
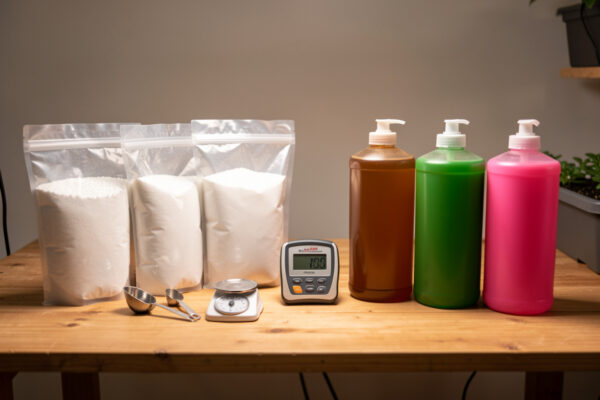
Dissolve each salt separately. In three separate containers, fully dissolve your Masterblend 4-18-38, your Epsom salt, and your calcium nitrate — each in its own portion of warm water. Stir each until completely clear before it goes anywhere near the reservoir.
Add in strict order, calcium nitrate last. With the reservoir circulating or stirred, pour in the dissolved Masterblend first, then the dissolved Epsom, and trickle in the pre-dissolved calcium nitrate last, slowly, into the moving water. The calcium meets an already-diluted, balanced solution and stays dissolved. I run the standard 2:1:2 ratio — 2 g Masterblend, 1 g Epsom, 2 g calcium nitrate per gallon for a full dose — and my 2-1-2 mixing ratio guide breaks down the math.
Set pH to 5.5–6.0. Once everything is in and circulating, adjust pH down into the band and confirm with a calibrated pen. This locks calcium in solution and keeps your nutrients available.
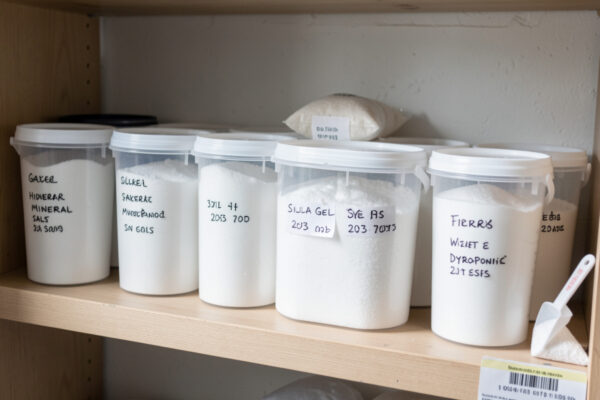
Keep Part A and Part B separate in storage. If you pre-mix concentrates, keep calcium nitrate as Part A in one container and Masterblend + Epsom together as Part B in another — never combined. Dilute each into the reservoir separately. The same logic applies to keeping the dry salts dry and uncontaminated, which I cover in storing dry hydroponic nutrients.
Hard water, RO, and the stubborn cases
If you’ve nailed mixing order and pH and still get haze, your source water is the likely culprit. Hard tap water adds background calcium and carbonate that push pH up and seed precipitation. Switching to RO or softened water removes that variable and makes a clean res far easier to hold.
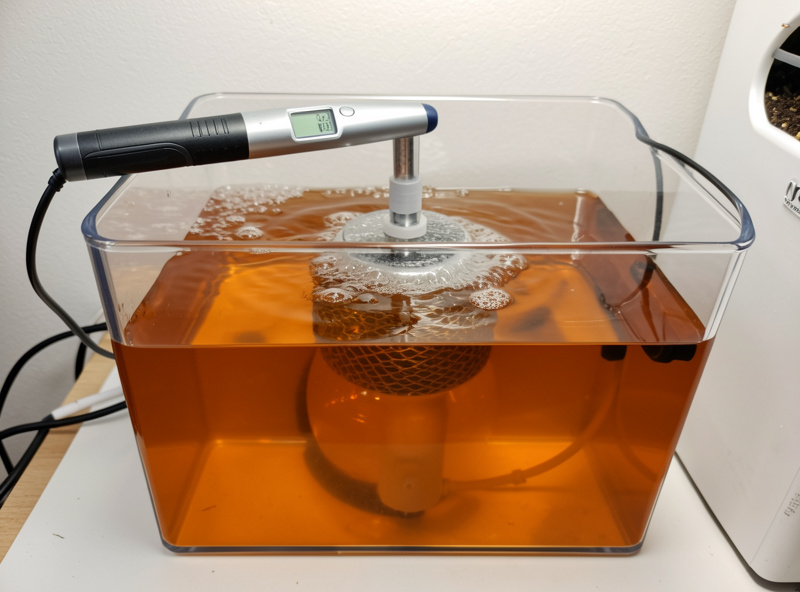
I keep a baseline DWC tote going specifically so I can compare a known-good res against a problem one. When a system clouds and the baseline doesn’t, the difference is almost always the water or a mixing slip on that particular batch, not the nutrient line itself. Measuring the EC of your raw tap water before you add anything tells you how much hardness you’re starting with — a tap reading well above 0.3–0.4 mS/cm is a hint that carbonates and calcium are already in play.
RO water starts you near zero, so every milligram of calcium in the res is calcium you added deliberately and can keep in solution by controlling pH. With very hard tap, you’re fighting carbonate buffering that keeps dragging pH back up past 6.5 no matter how much pH down you add, and that’s the pH range where calcium phosphate precipitates. Cutting hard tap with RO, or going full RO, breaks that buffering and lets your pH down actually hold. If you’ve ever felt like your reservoir won’t stay in the 5.5–6.0 band, this is usually why.
One more stubborn case: precipitate that forms hours after a perfect mix. That’s almost always slow pH drift upward overnight, common in low-volume or heavily planted systems where the plants pull pH around. The fix is monitoring — a quick daily pH check on every res — and topping off with pH-corrected water rather than raw tap so the band doesn’t creep.
I treat top-off as its own discipline because it’s where a lot of clean-mixed reservoirs quietly go cloudy. As plants drink and water evaporates, the remaining solution concentrates and the pH tends to climb. If you top off with raw hard tap, you’re adding fresh carbonate and calcium to an already-concentrating res — exactly the conditions that precipitate calcium phosphate. I top off with pH-adjusted water and re-read EC after, because a top-off that pushes EC up past your target is also pushing the ion concentration toward the reactive zone. Small, frequent, pH-corrected top-offs beat a big slug of cold tap every few days.
And if you’re running a system where the res sits in a warm tent, watch temperature too. Warmer water holds more in solution while it’s hot, but the chemistry around calcium carbonate actually favors precipitation as temperature rises and CO2 comes off — another reason a res can cloud in a hot tent even when the mix was textbook. None of this changes the core rule. Dilute, dissolve separately, calcium nitrate last, pH pinned. The stubborn cases are just that same rule applied to water source, top-off habits, and temperature instead of the initial pour.
What a clean Masterblend res looks like
A correctly mixed Masterblend reservoir is clear or faintly tinted, holds steady at EC 2.0–2.4 mS/cm for a full dose, and sits at pH 5.5–6.0 with no white film on the walls or pump. If you see that, your calcium is in solution and your plants are getting fed.
Everything about preventing the white chalk comes back to the same chemistry: calcium wants to bond with sulfate and phosphate, and it only gets the chance when you concentrate the ions or let pH climb. Dilute them in a full reservoir, dissolve each salt on its own, add calcium nitrate last, and pin the pH — that’s the whole game. I’ve run all four of my systems side by side for long enough to say it plainly: precipitation is a mixing-discipline problem, not a Masterblend problem. Fix the routine once and the chalk stops for good.