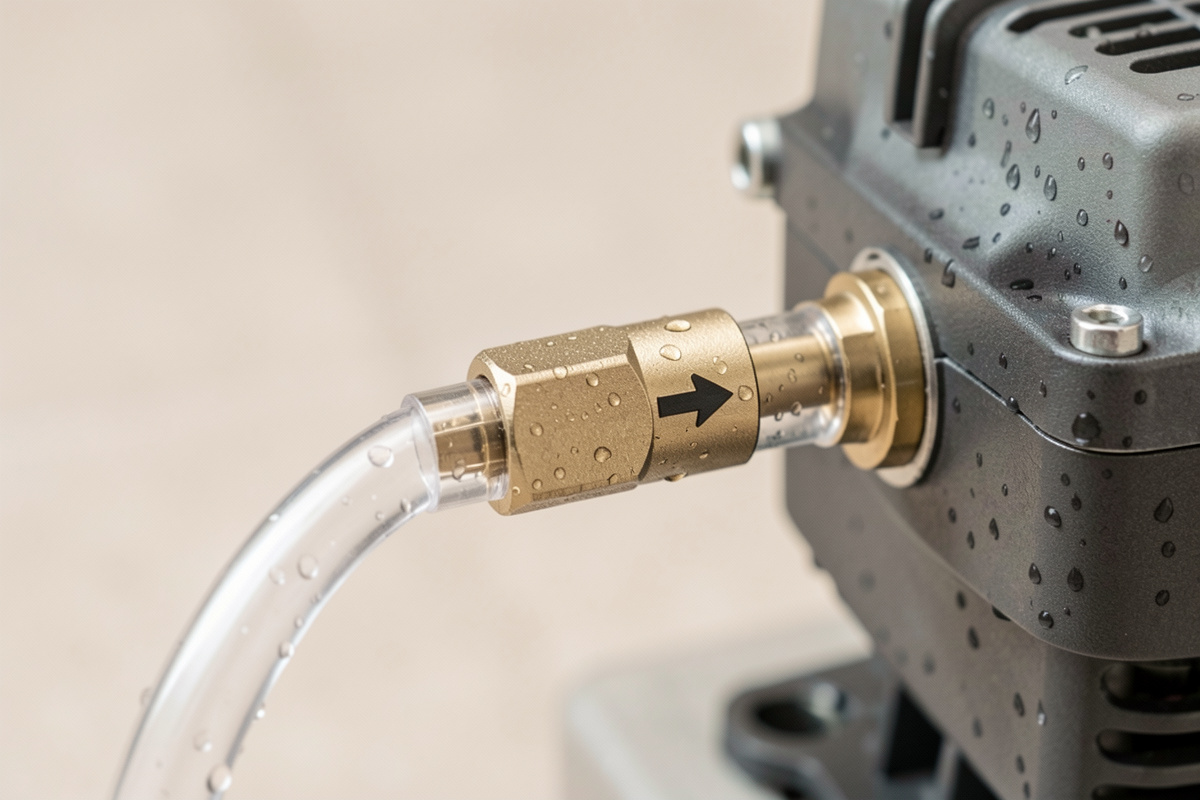
The short answer: A check valve is a one-way gate on your air line that stops water siphoning back into the pump when power cuts. Fit it with the arrow pointing toward the reservoir, one valve per line on standard 3/16-inch (4-5 mm) airline, and it does its job silently.
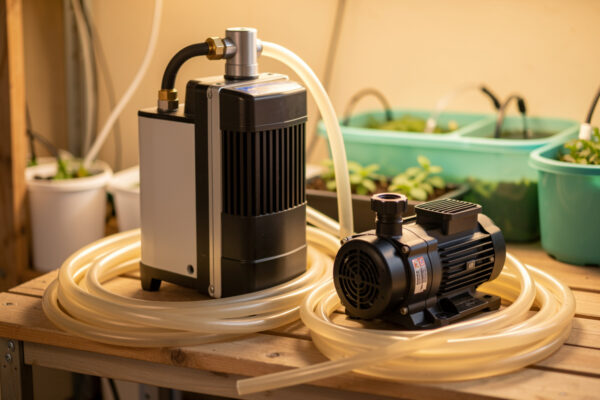
I learned this the hard way. One night the power blipped, my air pump sat on a shelf above the tote, and by morning half the reservoir had climbed the tubing and pooled on the floor. That single puddle taught me more about air-line plumbing than any spec sheet ever did. On my bench now, every air line runs through a check valve, and I want to walk you through exactly why, which way the arrow faces, and how to pick tubing bore so this never happens to you.
What backflow is and why a pump above the reservoir is vulnerable
Backflow is water traveling the wrong way up your airline. When the pump runs, air pushes down the tubing, bubbles out the air stone, and the water stays put. Cut the power and the air pressure vanishes. Now you have a column of water in a reservoir and an empty tube leading up to a dead pump. Physics does the rest: the water wants to equalize, and if the pump sits above the reservoir waterline, gravity and siphon action pull water up the tube, through the dead pump body, and out.
The vulnerability is entirely about height. If your pump sits below the reservoir waterline, a siphon can start and drain the whole res through the pump. If it sits above, water can still climb the tube on suction as the diaphragm relaxes, then creep back toward the pump. Either way, a dead pump is not a barrier — the diaphragm inside a diaphragm pump does not seal against reverse water flow. That is the trap. People assume a stopped pump blocks the tube. It does not.
I run DWC as my daily workhorse, and DWC lives and dies on dissolved oxygen. My air stones run 24/7 at roughly 1 LPM of air per gallon of reservoir. That means the airline is a permanent, live path between the pump and the water — and a permanent path for water to travel back the moment the air stops. If you want the deeper reasoning on why oxygen matters so much in a root zone, my DWC hydroponics guide covers it, but the plumbing lesson stands on its own: any live air line is a two-way street unless you make it one-way.
The night the reservoir climbed the tube
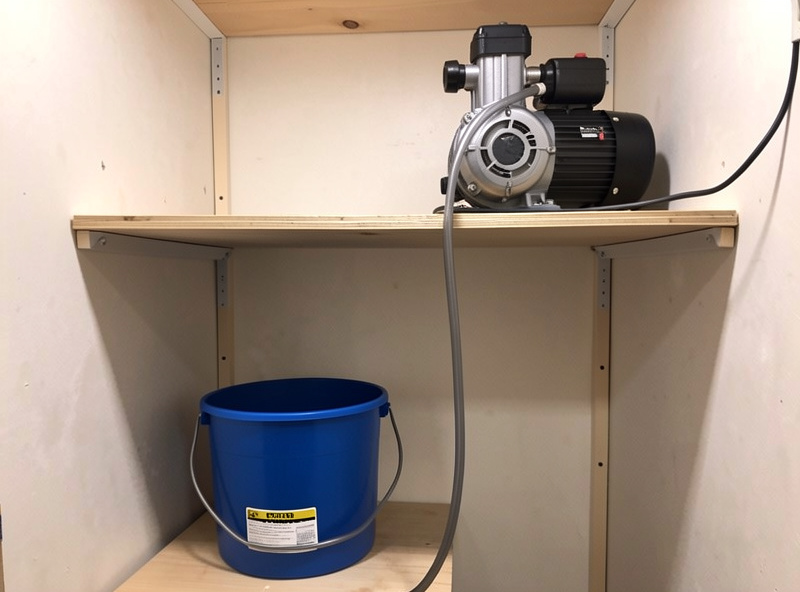
Here is the mistake I made once, told plainly. I had a DWC tote with an air pump sitting on a shelf about a foot above the water. Clean setup, good bubbles, roots happy. I had run it that way for weeks. Then the power cut overnight — just a short outage. When the pump stopped, the air pressure holding the water column in the reservoir disappeared. Water crept up the airline, reached the dead pump diaphragm, found no seal, and started weeping through and back down the outside of the tube as a slow siphon.
By morning the reservoir was down several inches and there was a puddle under the shelf. No brand failed, no gadget broke — the plumbing was simply missing one three-gram part. The pump itself had water sitting in its diaphragm chamber, which is its own problem: liquid inside a diaphragm pump can seize it or corrode the internals over time. So one missing check valve nearly cost me a pump and did cost me a res change and a mop.
The fix cost less than a coffee. A single one-way check valve on the line between the pump and the stone would have slammed shut the instant air pressure dropped and held that water column exactly where it belonged. That is the whole point of this article: the cheapest part in your grow room prevents one of the most annoying failures.
How a one-way check valve stops it — and protects the pump
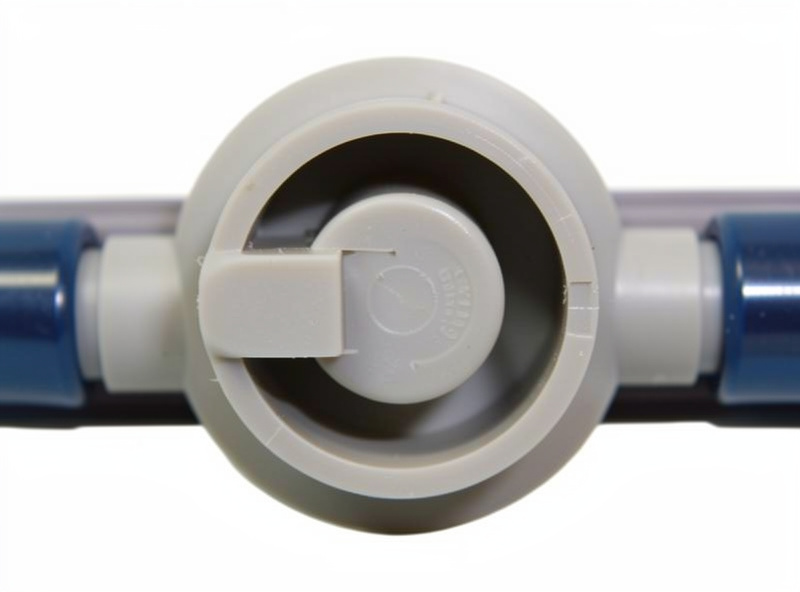
A check valve is a small barrel with a barb on each end and a flap or spring inside. Air pushes through in one direction and holds the flap open; try to push the other way and the flap seats against a lip and seals. In an air line, forward flow (air from pump to stone) passes freely. Reverse flow (water climbing back) forces the flap shut. It is dumb, mechanical, and reliable — no power, no electronics, just a flap and a seat.
Two things happen when you fit one correctly. First, backflow stops at the valve. Water can climb the tube from the reservoir up to the valve and no further, so your res stays full and your floor stays dry. Second, and people forget this, the valve protects the pump diaphragm from ever seeing water. That second benefit is why I put a check valve on lines even when the pump sits well above the water — the diaphragm never gets a drop, so the pump lasts longer.
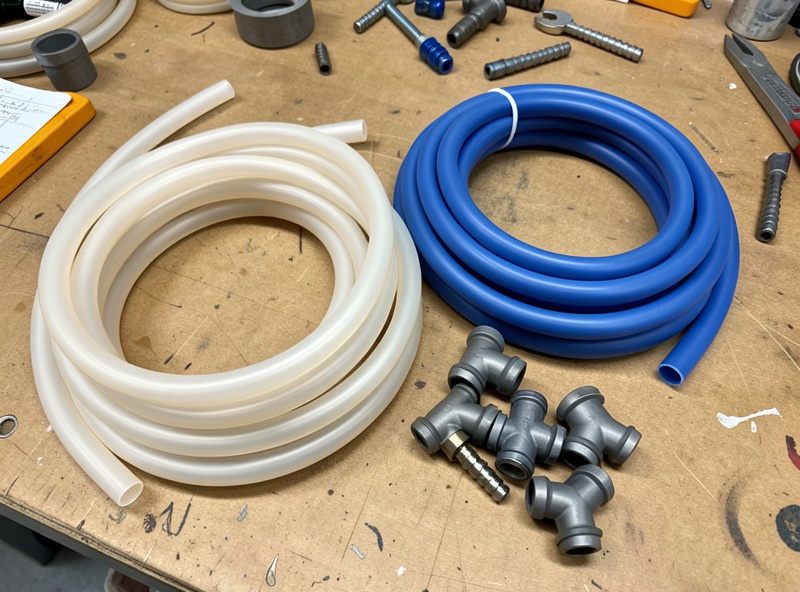
Aquarium check valves are exactly the same part hydro growers need — the aquarium hobby has been solving this for decades, which is why the parts are cheap and everywhere. If you run a splitter feeding several stones, put a valve on each outgoing line, not just the trunk, because each line is its own backflow path. I get into that layout more in my air pump manifold guide, but the rule is simple: one valve per line, no exceptions.
Valve direction: the arrow points toward the reservoir
This is the one that trips everyone up, and it tripped me. A check valve is directional. It has an arrow on the body, and that arrow points in the direction air is allowed to flow — which is from the pump toward the reservoir, away from the pump. Fit it that way and air passes freely to the stone while water is blocked from climbing back. Fit it backwards and you get no air at all: the valve blocks the pump’s output because it thinks that is the reverse direction. You will stand there wondering why your brand-new pump makes no bubbles.
The way I plumb mine: pump outlet, short length of tubing, check valve with the arrow aimed at the water, then the run down to the air stone. If you ever fit one and the bubbles die, do not assume a dead pump — flip the valve first. Nine times out of ten that is it. Some valves also have a colored end (often the softer rubber end faces the pump), but trust the arrow over the color; the arrow is the spec.
One valve per line is the other half of the rule. If you tee one pump out to three totes, each of the three branches needs its own valve downstream of the tee. A single valve on the pump outlet protects the pump but does nothing to stop tote-to-tote or branch backflow when the air stops. My reservoir setup guide shows how I lay out multi-tote runs so every branch is independently protected.
Tubing bore: matching size to job
Standard aquarium airline is 3/16 inch inner bore — roughly 4 to 5 mm — and that is the right size for a single air stone on a single line. It fits standard check valves, standard barbs, and standard stones without adapters. The mistake is trying to run a whole manifold’s worth of air through that same skinny bore. A single 3/16 inch line feeding a splitter chokes the flow; each downstream stone gets starved and your bubble volume drops across the board.
For trunk lines — the fat line from the pump to a manifold or splitter — step up to a wider bore, then split down to 3/16 inch at each stone. The wider trunk carries the total air volume without a pressure drop, and the branches size down to match the stones. Think of it like plumbing water: one fat main, several skinny branches. On my bench the trunk is a wider silicone line and every branch is standard 3/16 inch with its own check valve.
| Line | Typical bore | Use |
| Branch to single stone | 3/16 inch (~4-5 mm) | One air stone or disc diffuser per line; fits standard valves and barbs. |
| Manifold trunk line | Wider bore (step up) | Carries total air volume from pump to a splitter before branching down. |
| Pump outlet | Match pump port | Short link from the pump barb to the first check valve or the trunk. |
Sizing the air itself follows the same logic I use everywhere: at least 1 LPM of air per gallon of reservoir as a floor, more if the water is warm. If you are picking a pump to feed several stones through a manifold, my best air pump for hydroponics roundup pairs pump output to bore and stone count, and the best air pump for DWC guide focuses on the single-tote case where 3/16 inch is all you need.
Silicone vs vinyl, barbs, tees, and the parts that stick
Tubing material matters more than people expect. Silicone airline stays soft and flexible, resists kinks around tight corners, and does not go brittle over time — it is what I run on every permanent line. Vinyl airline is cheaper and fine for short straight runs, but it stiffens and yellows as it ages, and stiff tubing kinks at bends and pops off barbs. If a line has to turn a corner near a check valve or a tee, use silicone there; a kink at a fitting quietly chokes flow the same way an undersized bore does.
Barbs, tees, and connectors are where flow gets lost if you are careless. Every barb should be pushed fully onto the tubing so there is no restriction at the shoulder, and every tee splits one line into two without a bore reduction unless you mean it. Watch your kink points: a tube pinched behind a reservoir or crushed under a lid loses air just as surely as a stopped pump. When I 3D-print reservoir lids I add a hose guide so the airline enters at a gentle angle and never gets pinched by the lid edge.
Buy a check valve, a length of silicone airline, and a couple of barbed connectors together and you have the whole kit. Here is where I point people: aquarium check valves and airline tubing on Amazon.
Disclosure: the link above is an affiliate link; if you buy through it I may earn a small commission at no extra cost to you.
Last thing, and it is the one most guides skip: check valves themselves can stick. The flap can gum up with mineral scale or grit and either jam open (no backflow protection) or jam shut (no air). I check mine every time I do a res change — a quick blow through the valve in the correct direction should pass air freely, and a gentle blow the wrong way should meet a firm stop. If it fails either test, it goes in the bin; a three-gram part is not worth risking a flooded floor. While you are at it, that same res-change habit is when I clean clogged air stones and check the whole air path end to end. And if pump noise is driving you up the wall, a check valve does not fix that — see my notes on running a quiet air pump instead.
Which way does an air pump check valve go?
The arrow on the valve body points in the direction air is allowed to flow: from the pump toward the reservoir, away from the pump. Fit it backwards and you get no air at all because it blocks the pump output.
Do I really need a check valve on my hydroponic air pump?
Yes if the pump can ever sit near or below the reservoir waterline, and it is worth it regardless. When power cuts, water siphons back up the airline through the dead pump and can drain your reservoir or wet the diaphragm.
What size airline tubing should I use?
Standard 3/16 inch bore, about 4 to 5 mm, is right for a single air stone. Step up to a wider bore for a manifold trunk line feeding a splitter, then branch back down to 3/16 inch at each stone.
Silicone or vinyl airline tubing?
Silicone stays flexible, resists kinks, and does not go brittle, so I use it on permanent lines and any corner near a fitting. Vinyl is cheaper but stiffens and yellows with age, which invites kinks at bends.
Can a check valve fail?
Yes. The flap can gum up with scale or grit and jam open, losing backflow protection, or jam shut, blocking air. Test it at every reservoir change: air should pass freely the correct way and meet a firm stop the wrong way.