To control fungus gnats in a hydroponic system you attack three life stages at once: yellow sticky traps to knock down and monitor the adults, Bacillus thuringiensis israelensis (BTI) to kill larvae in the water and wet media, and Steinernema feltiae nematodes for a biological finish in the root zone. Add light exclusion and a dry media surface and you break the breeding cycle for good. Spraying the adults alone never works.
I have fought gnats across DWC, ebb-and-flow and every propagation tray on my bench, and the lesson is always the same: the fly you swat is the least of your problem. For every adult bouncing off your face there are larvae in the medium chewing fine root hairs and ferrying Pythium spores straight into the root zone. This guide is the control program I actually run — the layered, hydro-specific sequence that ends an infestation instead of just annoying it. If you need help telling a gnat apart from a shore fly or a thrip in the first place, the existing fungus gnats identification guide covers spotting and confirming; this article is about killing them and keeping them gone.
Why Fungus Gnats Love Hydroponics
Fungus gnats need three things: moisture, organic matter or algae to feed the larvae, and somewhere dark and damp to lay eggs. A hydroponic propagation tray or a media bed delivers all three on a silver platter. The adults themselves are mostly a nuisance — weak fliers that live about a week — but a single female lays up to a couple hundred eggs, so the population explodes geometrically if you ignore it.
The real damage is below the surface. Larvae are tiny translucent worms with a shiny black head, and they graze on the finest, most active feeder roots — exactly the root hairs doing your nutrient uptake. On a seedling or a fresh cutting that root loss alone can stall growth. Worse, the larvae are a documented vector for Pythium, the root-rot pathogen, tracking it from infected media into clean root mass. In a recirculating system one gnat-infested tray can seed rot through the whole loop. That is why I treat a gnat problem as a root-rot risk, not a cosmetic one — and why control is non-negotiable, not optional.
The Layered Control Protocol
There is no single silver bullet for gnats because no single tool hits every life stage. Adults fly, eggs and larvae live in the medium, pupae sit in the surface layer. Hit only one stage and the survivors rebuild the population in a week. The program below hits all of them at once, and that simultaneity is the whole trick.
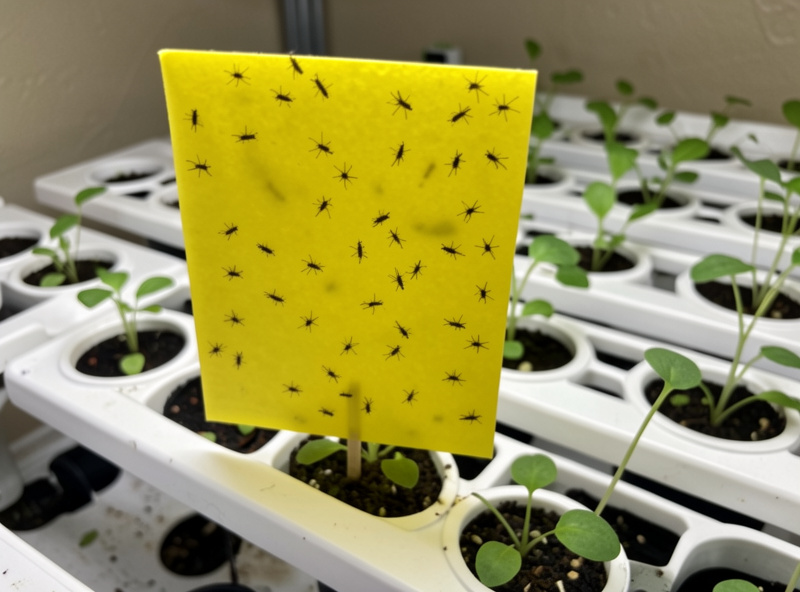
Step 1: Sticky Traps — Monitor and Knock Down Adults
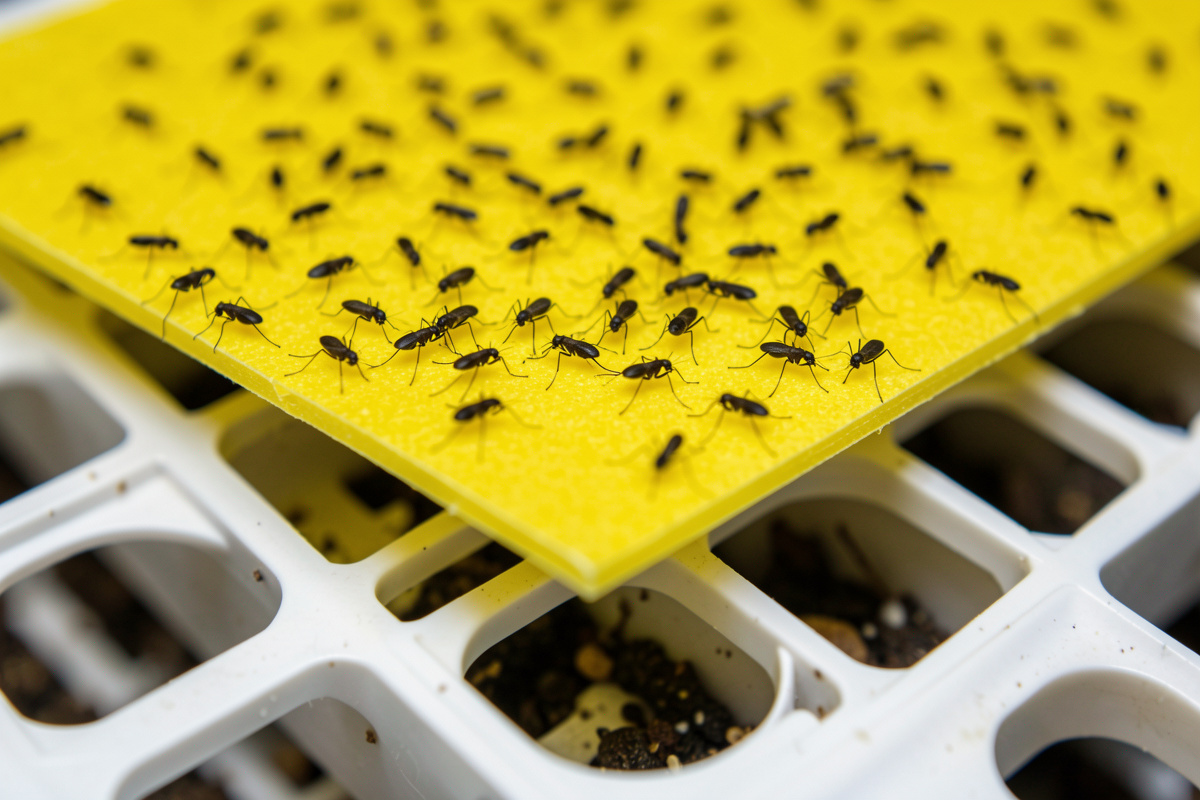
Yellow sticky traps go up first, one per plant and a few at canopy height, laid flat or just above the media where adults congregate. Two jobs: they physically remove egg-laying adults, and — more importantly — they are your sensor. The catch count is your early-warning gauge. When a trap that caught two gnats last week catches twenty, you have an active breeding population and it is time to escalate to the larval treatments. Traps stay up permanently in my room as a standing monitor, not just during an outbreak. They are cheap insurance; a multipack of yellow sticky traps lasts a long time.
Step 2: BTI — Kill the Larvae in the Water
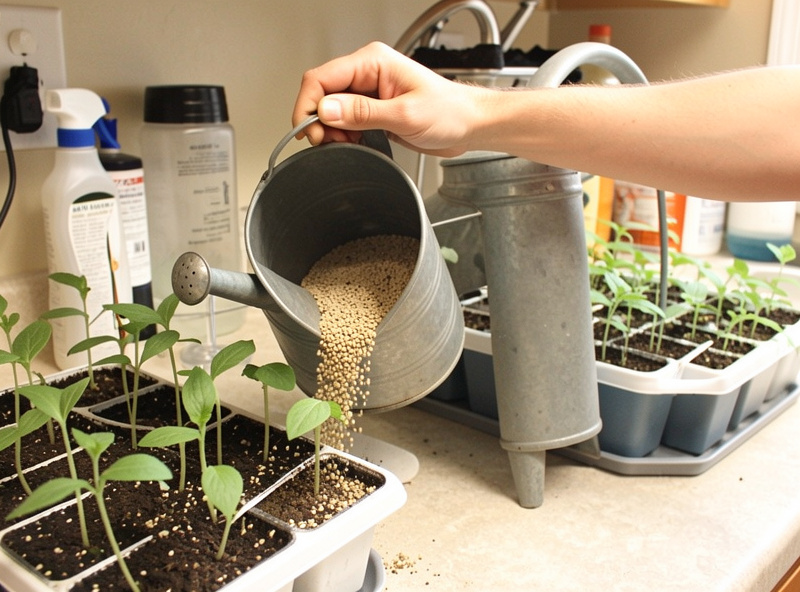
Bacillus thuringiensis israelensis is a soil bacterium that produces a protein toxic to fungus-gnat and mosquito larvae but harmless to plants, pets and people — the EPA’s Bti profile spells out that selectivity. It is sold cheaply as “mosquito bits” or “mosquito dunks.” I steep the granules in water to make a slurry and apply it wherever larvae live — into the reservoir on systems with media, and as a top-water on propagation trays and clay-pebble beds. The larvae eat the BTI and die. It does nothing to adults, which is why it pairs with the traps rather than replacing them. Re-apply with each watering for two to three weeks to catch successive hatches, because BTI breaks down and does not persist.
Step 3: Beneficial Nematodes — The Biological Finish
Steinernema feltiae are microscopic beneficial nematodes that hunt fungus-gnat larvae in the medium, enter them, and kill them from the inside. They are the most thorough tool in the kit for a media-based system because they actively seek the larvae out rather than waiting to be eaten. Mix them into water per the package rate and drench the medium; they need moisture to move, which a hydro medium supplies perfectly. One or two applications a couple of weeks apart usually finishes a stubborn infestation. They are living organisms, so order them fresh, keep them cool, and use them promptly — and like all biologicals, do not combine them with a broad pesticide spray that would kill them too.
Cut Off the Breeding Sites
Treatments knock the population down; environment decides whether it comes back. Three habitat fixes do more long-term than any drench.
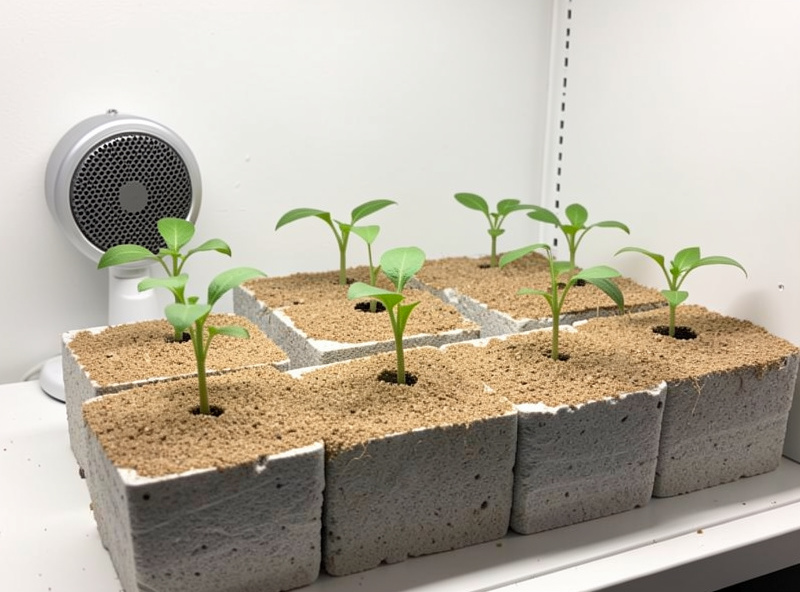
Dry the surface. Gnat eggs and young larvae need the top layer of media to stay wet. Let the surface of rockwool, coco or a clay-pebble bed dry between waterings and you destroy the nursery without any product at all. On propagation, bottom-water so the surface stays dry. This single habit prevents more infestations than every spray combined.
Kill the algae. Larvae feed on the algae and biofilm that grow wherever light hits nutrient water. Opaque reservoirs, sealing lids, and covered net pots remove the food source. This is the same light-exclusion discipline that prevents algae in hydroponics — gnats and algae are the same problem wearing two costumes, and I print my own light-sealing lids partly for this reason.
Top the surface with a barrier. A thin layer of horticultural sand, fine gravel, or a hydroton cap on any exposed media creates a dry, gritty surface that adults will not lay into and emerging adults struggle to escape through. On clay-pebble beds the pebbles themselves do this job if you keep the surface dry.
Which Tool for Which Job
Here is how I match the tool to the situation rather than throwing everything at the wall.
| Control tool | Life stage hit | Speed | Best for |
|---|---|---|---|
| Yellow sticky traps | Adults | Immediate, ongoing | Monitoring + adult knockdown (always up) |
| BTI / mosquito bits | Larvae | Days | Larvae in reservoir and wet media |
| Steinernema feltiae nematodes | Larvae | 1–2 weeks | Stubborn media infestations, biological finish |
| Surface dry-back | Eggs / young larvae | Preventive | Breaking the breeding cycle long-term |
| Light exclusion (lids) | Food source (algae) | Preventive | Removing what larvae eat |
As an Amazon Associate I earn from qualifying purchases.
For a light infestation caught early, traps plus surface dry-back often end it on their own. For an established population — twenty-plus on the traps, larvae visible when you lift the medium — run all three biological layers together: traps up, BTI with every watering, one nematode drench. That combined assault breaks the cycle in two to three weeks. Resist the urge to add a chemical adulticide spray; it kills the easy stage you could trap anyway and buys you nothing against the larvae that actually matter.
A Practical Timeline From Discovery to Clean
Knowing the tools is one thing; knowing the order and the patience the job takes is another. Here is the realistic timeline I follow once I confirm an active infestation, because the most common reason control “fails” is a grower quitting after a week when the larvae still in the medium simply had not hatched yet.
Day one: hang sticky traps at every plant and at canopy height, and start logging the catch. Lift a bit of medium and confirm larvae so you know what you are fighting. Let the surface begin drying — skip the next light top-watering if the plants can take it.
Days one through fourteen: apply BTI slurry with every watering. This is the workhorse phase. You are killing each successive hatch of larvae before they pupate, which is why consistency beats intensity — a strong dose once does less than a moderate dose every watering. Keep the surface as dry as the crop allows between applications.
Around day three to five: drench the medium with Steinernema feltiae nematodes if the infestation is heavy or in a media bed. Give them moist medium to move through and they will hunt down what the BTI misses deeper in the root zone.
Days fourteen through twenty-one: the adult catch on the traps should be falling steadily. A second nematode application here cleans up stragglers. Do not declare victory the first day you see fewer flies — the pupae already in the surface will still emerge for a few more days. Clean is when the trap catch stays near zero for a full week.
The whole cycle runs two to three weeks because that spans the gnat’s full egg-to-adult life cycle. Anything faster is wishful thinking; anything that drags longer means a breeding site you have not cut off yet — usually a wet surface or an algae bloom feeding the larvae.
Common Fungus Gnat Control Mistakes
The same handful of errors keep infestations alive. Treating only the adults — swatting, spraying, or relying on traps alone — leaves the larvae untouched and the population rebuilds in a week. Overwatering through the whole fight keeps the surface wet and hands the next generation its nursery; you cannot drench your way out while feeding the breeding site. Quitting after a week stops treatment right as the next hatch emerges. And ignoring the algae — leaving light on the nutrient solution — means you are killing larvae while continuously growing their food. Fix the surface moisture and the algae, run BTI and nematodes together for the full cycle, and gnats become a problem you solve once rather than every crop.
Keeping Them Out in the First Place
Almost every gnat infestation I have traced started with contaminated incoming media or an infested transplant. A bag of coco or peat left open in a damp shed already has eggs in it. A nursery seedling arrives with larvae in its plug. Quarantine new plants for two weeks, store media sealed and dry, and treat any new bag as suspect — a quick BTI drench on incoming media is cheap insurance. This is the same exclusion thinking from the hydroponic room biosecurity guide, and it is why disciplined rooms simply do not have a chronic gnat problem. Fix the door and you rarely fight the room.
Fungus gnats sit inside the larger pest picture I lay out in the hydroponic pest control guide, and because the larvae spread Pythium, controlling them is part of preventing root rot in hydroponics too. Healthy, well-oxygenated roots in a cool reservoir shrug off the minor feeder-root damage a small gnat population causes — yet another reason the environment-first program pays off everywhere at once.
Frequently Asked Questions
Do fungus gnats actually harm hydroponic plants?
Yes. The larvae feed on fine feeder roots and act as a vector for Pythium root rot, carrying the pathogen into clean root mass. On seedlings and cuttings the root damage alone can stall growth, so a gnat problem should be treated as a root-rot risk, not just a nuisance.
What kills fungus gnat larvae in a hydroponic reservoir?
BTI (Bacillus thuringiensis israelensis), sold as mosquito bits, is the standard. Steep the granules in water and apply the slurry to the reservoir and wet media. The larvae eat it and die, and it is harmless to plants. Re-apply with each watering for two to three weeks to catch new hatches.
Will yellow sticky traps get rid of fungus gnats on their own?
Rarely. Sticky traps remove and monitor adults but do nothing to the larvae breeding in the medium. They are best used as an early-warning sensor and adult knockdown alongside BTI and nematodes that target the larvae directly. Alone they only slow a growing population.
How do beneficial nematodes work against fungus gnats?
Steinernema feltiae are microscopic nematodes that actively hunt fungus-gnat larvae in moist media, enter them and kill them. Mix into water and drench the medium. They are living organisms, so order fresh, keep cool, use promptly, and never combine with broad pesticides that would kill them.
How do I stop fungus gnats from coming back?
Cut off the breeding sites: let the media surface dry between waterings, exclude light to kill the algae the larvae feed on, and quarantine new plants and media that carry eggs in. Keep sticky traps up permanently as a monitor so you catch any new population while it is still small.