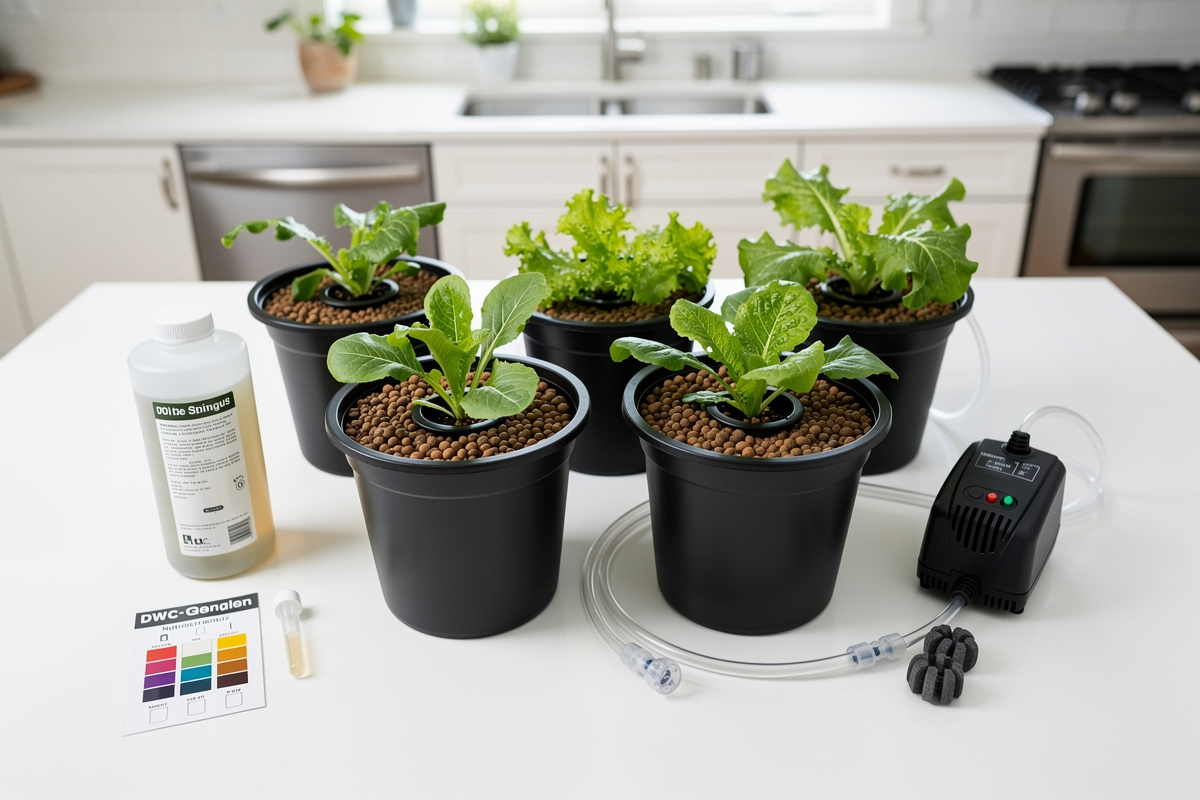
A hydroponic growing kit puts everything you need to start soilless growing in one box — reservoir, net pots, growing medium, nutrients, and sometimes even seeds. Quality beginner kits range from 40 to 150 dollars. In my experience recommending systems to people just starting out, a pre-configured kit removes most of the early failure points a DIY build trips beginners on — mismatched components, missing pH gear, an undersized air pump — simply because someone already made those decisions for you. For beginners, kits eliminate the guesswork of sourcing individual components and ensure everything works together from day one.
But not all kits are equal. Some are overpriced countertop gadgets that grow three basil plants. Others are serious DWC or NFT systems that produce real harvests. This guide breaks down what to look for, compares the main kit types, and helps you pick the right one for your space and goals.
What Comes in a Hydroponic Growing Kit
A complete hydroponic kit should include every component needed to start growing immediately. If a kit is missing any of these core parts, you will need to buy them separately — which defeats the purpose of buying a kit.
Essential Components
| Component | Purpose | Should Be Included |
|---|---|---|
| Reservoir/Container | Holds nutrient solution | Always |
| Net pots or grow cups | Hold plants above solution | Always |
| Growing medium | Supports roots (clay pebbles, rockwool, or perlite) | Usually |
| Air pump + air stone | Oxygenates solution (DWC systems) | DWC kits only |
| Water pump | Circulates solution (NFT/drip systems) | NFT/drip kits only |
| Nutrient concentrate | Feeds plants | Most kits |
| pH test kit or drops | Monitors acidity | Better kits only |
| Timer | Automates light/pump cycles | Premium kits only |
| Grow light | Provides artificial light | Countertop kits; rarely in bucket kits |
The biggest difference between cheap and quality kits is whether pH testing equipment and a decent nutrient supply are included. Without pH control, your plants will struggle regardless of how good the rest of the system is. For a full breakdown of essential gear, see our hydroponic equipment guide.
Types of Hydroponic Kits
Hydroponic kits fall into four main categories, each based on a different hydroponic system type. The system type determines complexity, cost, plant capacity, and what you can grow.
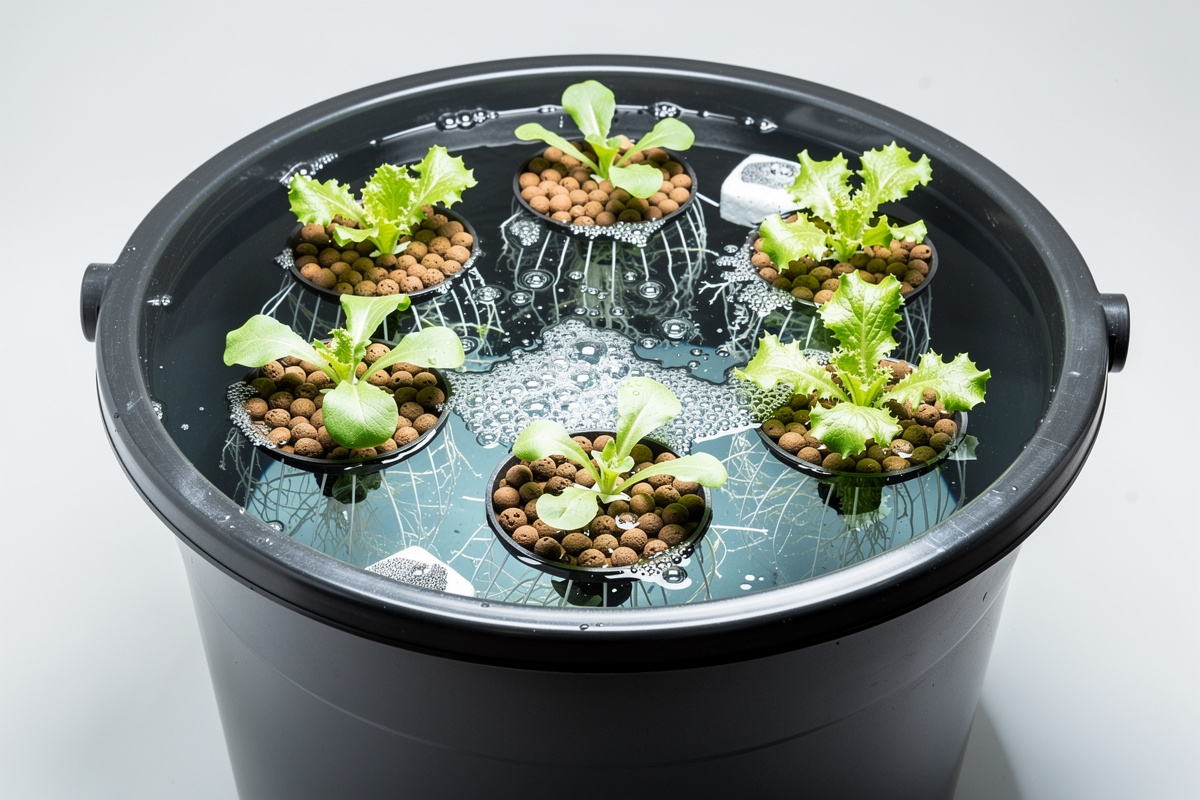
Deep Water Culture (DWC) Kits
A DWC kit is the simplest active hydroponic system. Plant roots sit directly in oxygenated nutrient solution. An air pump and air stone keep the water bubbling so roots get enough oxygen.
As an Amazon Associate I earn from qualifying purchases.
Pros: Dead simple, inexpensive, fast plant growth, easy to troubleshoot. Ideal first system for beginners.
Cons: Solution temperature sensitive (must stay below 72°F/22°C), limited to 4-8 plants per standard kit, needs air pump running 24/7.
Best for: Lettuce, herbs, leafy greens, small pepper plants.
Price range: $25-$80 for a 4-8 site kit.
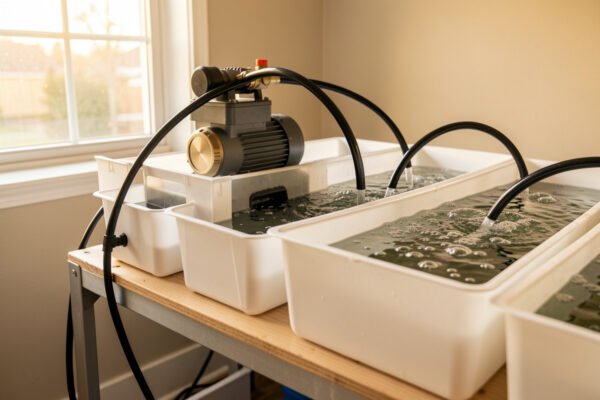
NFT (Nutrient Film Technique) Kits
NFT systems pump a thin film of nutrient solution through sloped channels. Plant roots sit in the channels and absorb nutrients as the film flows past. A pump recirculates solution from a reservoir back to the top of the channels.
Pros: Higher plant capacity (12-36 sites), efficient water use, professional-grade results.
Cons: Pump failure = dead plants within hours, channels can clog, more expensive, requires leveling.
Best for: Lettuce, herbs, strawberries, leafy greens. Not ideal for heavy fruiting plants.
Price range: $80-$250 for a home-scale system.
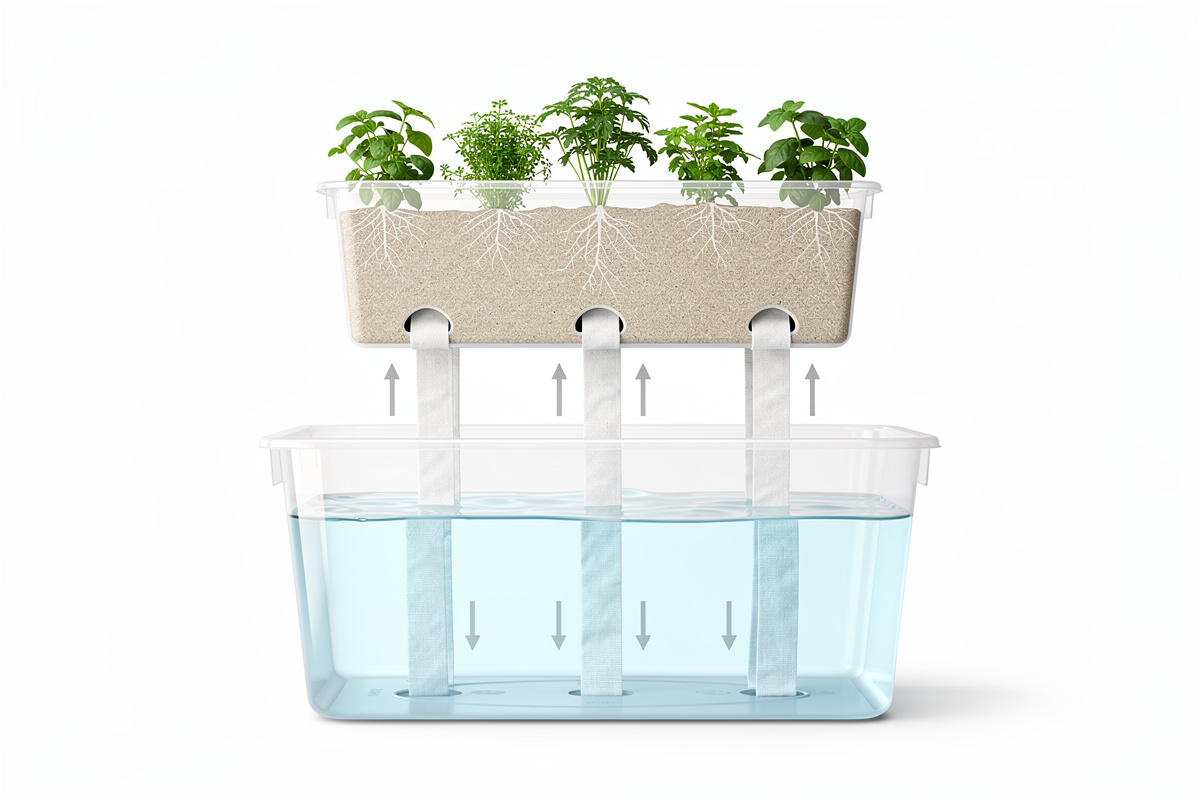
Wick System Kits
The simplest hydroponic method — no pumps, no electricity. Fabric wicks draw nutrient solution from a reservoir up into the growing medium by capillary action. Completely passive — extension guidance on home hydroponics groups wick and float systems together as the lowest-complexity entry point for exactly this reason (Penn State Extension).
Pros: Zero electricity cost, silent operation, nearly impossible to break, cheapest of all systems.
Cons: Slow nutrient delivery limits growth rate, only works for small low-demand plants, wicks can dry out or clog with mineral buildup.
Best for: Herbs, lettuce, microgreens. Not suitable for fruiting plants.
Price range: $15-$40.
Countertop/All-in-One Kits
Self-contained units with built-in LED grow lights, water reservoir, and automated pump cycles. Brands like AeroGarden and iDOO popularized this category. Plug in, add water and nutrient pods, and plants grow automatically.
Pros: Zero setup, attractive design, built-in lighting, perfect for herbs and greens on a kitchen counter.
Cons: Expensive per plant site ($100-$250 for 6-12 pods), proprietary seed pods cost more than loose seeds, limited plant size, cannot grow large vegetables.
Best for: Kitchen herbs, lettuce, anyone who wants zero maintenance growing.
Price range: $60-$250.
Kit Comparison: Which Type Should You Buy?
| Feature | DWC Kit | NFT Kit | Wick Kit | Countertop |
|---|---|---|---|---|
| Difficulty | Easy | Moderate | Very Easy | Easiest |
| Plant capacity | 4-8 | 12-36 | 3-6 | 6-12 |
| Grow large plants | Yes (peppers, tomatoes) | No (leafy only) | No | No |
| Electricity needed | Yes (air pump) | Yes (water pump) | No | Yes (light + pump) |
| Noise level | Low hum | Quiet trickle | Silent | Silent-Low |
| Grow light included | Rarely | Rarely | No | Always |
| Space needed | 2×2 ft | 2×4 ft | 1×1 ft | 1×2 ft counter |
| Price range | $25-$80 | $80-$250 | $15-$40 | $60-$250 |
| Best first crop | Lettuce | Lettuce | Basil | Herbs |
What to Look for When Buying a Kit
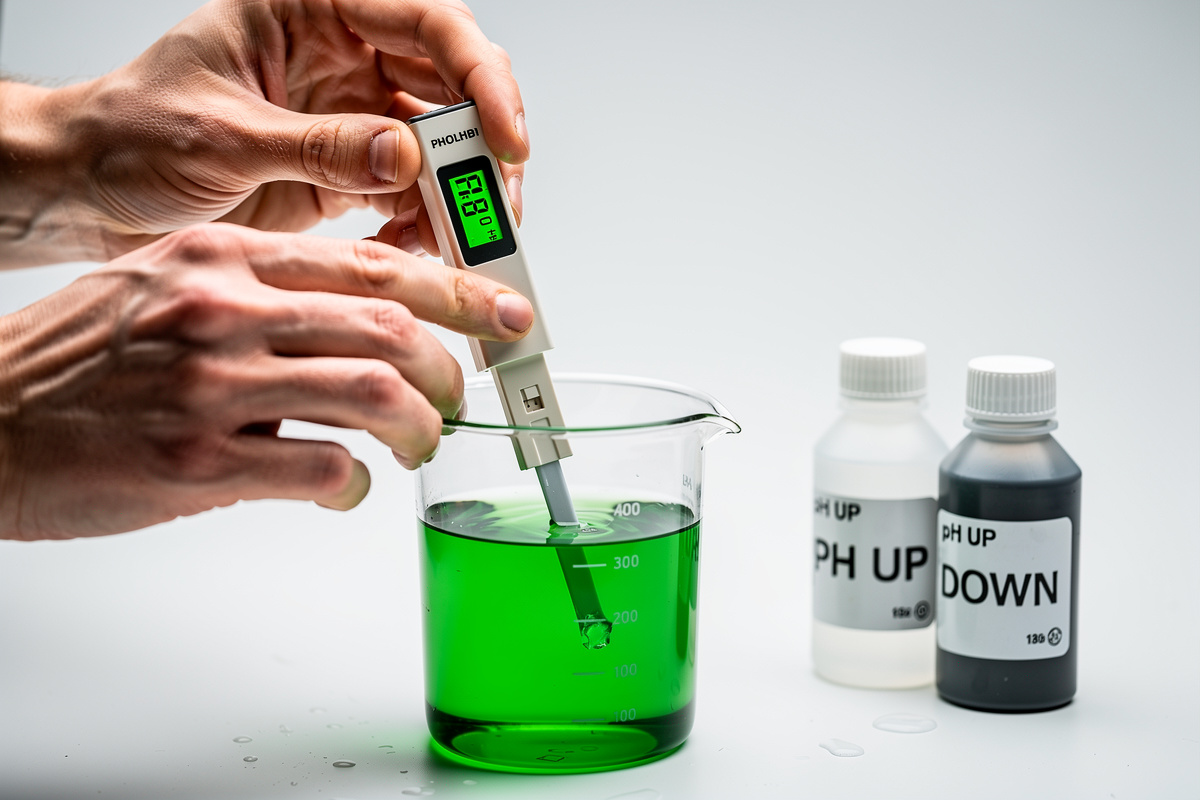
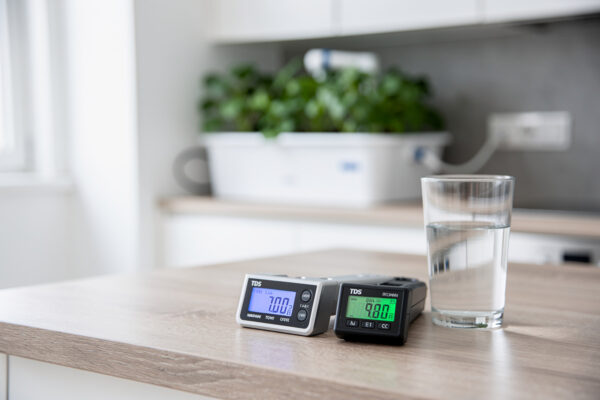
1. pH Testing Equipment
This is the single most important item that separates good kits from bad ones. Hydroponic plants generally need pH in the 5.5-6.5 range (university extension guidance on small hydroponic lettuce systems puts the workable window in a similar band — see UF/IFAS HS1422). Without a way to measure and adjust pH, your plants will develop nutrient lockout — symptoms look like deficiencies even though nutrients are in the water. They just cannot absorb them at the wrong pH. It is the first thing I check whenever a kit-grown plant stalls for no obvious reason, before I even look at the nutrient bottle.
Budget kits include pH test drops (adequate). Better kits include a digital pH pen (more accurate and reusable). If your chosen kit does not include pH testing, budget $10-$15 extra for a set of drops or $20-$30 for a digital pen.
2. Nutrient Quality and Quantity
Most kits include a starter supply of hydroponic nutrients — usually enough for 2-4 weeks. Check whether it is a one-part or two-part formula. Two-part (A+B) nutrients are standard in hydroponics because they keep calcium separate from sulfates and phosphates to prevent precipitation in concentrated form.
After the starter supply runs out, a bottle of quality two-part nutrients costs $15-$25 and lasts months. For a complete overview of what nutrients do and how to mix them, see our beginner guide to hydroponics.
3. Build Quality
Check that the reservoir is food-grade, opaque plastic. Transparent or translucent reservoirs allow light to hit the nutrient solution, which causes algae growth. If a kit comes with a clear container, you will need to wrap it in light-blocking material or paint it — an annoyance that better kits avoid entirely.
Net pots should be sturdy (not flimsy thin plastic). Air stones should be at least 2 inches long for adequate oxygenation. Tubing should be flexible silicone, not rigid plastic that kinks.
4. Expandability
Some kits are closed systems — what you buy is all you get. Others are modular, letting you add more growing sites, connect multiple reservoirs, or upgrade components. If you think you might expand your indoor hydro garden beyond the starter kit, choose a system that scales.
Setting Up Your First Kit
Regardless of kit type, the setup process follows the same general steps. Here is a universal first-run guide.
Step-by-Step Setup
- Unbox and clean everything. Rinse the reservoir, net pots, and tubing with plain water. New plastic can have manufacturing residues.
- Assemble the system according to kit instructions. For DWC: connect air pump → tubing → air stone → place in reservoir. For NFT: connect pump → tubing → channels → return line to reservoir.
- Fill reservoir with water. Use tap water that has sat out for 24 hours (to off-gas chlorine) or use filtered water. Fill to the recommended level — usually 2-3 inches below the net pot bottoms.
- Add nutrients. Follow the concentration on the bottle. Start at half strength for seedlings, full strength for transplants. Mix Part A first, stir, then add Part B. Never mix concentrates together directly.
- Test and adjust pH. Target 5.8-6.2 for most crops. Add pH Down (phosphoric acid) to lower, pH Up (potassium hydroxide) to raise. A few drops at a time — it does not take much.
- Add growing medium to net pots. Pre-soak clay pebbles or rinse rockwool cubes before inserting. Place seedlings or seeds into the medium.
- Turn on pumps/lights. Set lights to 16 hours on / 8 hours off. DWC air pumps run 24/7. NFT water pumps can run 15 minutes on / 15 minutes off, or continuously.
- Monitor daily for the first week. Check water level, pH (adjust if it drifts outside 5.5-6.5), and look for signs of stress (wilting, yellowing, brown roots).
Best Plants to Grow in Starter Kits
Not every plant is suitable for a beginner kit. Start with fast-growing, forgiving crops that produce a visible harvest within 3-5 weeks. Once you have a successful first grow, you can move to more demanding plants.
| Plant | Days to Harvest | Difficulty | Best Kit Type | Notes |
|---|---|---|---|---|
| Lettuce (leaf) | 25-35 | Very Easy | Any | Best first crop. Fast, forgiving, cut-and-come-again |
| Basil | 25-30 | Easy | Any | Prolific grower, harvest regularly to prevent flowering |
| Spinach | 30-40 | Easy | DWC, NFT | Prefers cooler water temps (below 70°F) |
| Cilantro | 25-35 | Easy | Any | Bolts quickly in warm conditions — keep cool |
| Mint | 30-40 | Very Easy | Any | Aggressive grower — give it its own container |
| Kale | 45-60 | Easy | DWC, NFT | Larger plant, needs 5+ gallon reservoir per plant |
| Cherry tomatoes | 60-80 | Moderate | DWC only | Needs large container, support stake, pollination |
| Peppers | 70-90 | Moderate | DWC only | Needs pollination, warm temps, strong light |
For an expanded list with growing tips, see our guide to the best plants for hydroponic growing. If you are specifically interested in lettuce (the ideal first crop), our hydroponic lettuce vs soil comparison covers everything you need to know.
Common Beginner Kit Mistakes
Every new hydroponic grower makes predictable mistakes. Here are the ones that cause the most crop failures — and how to avoid them. For a deeper dive, our 7 common hydroponic mistakes guide covers each one in detail.
| Mistake | What Happens | Prevention |
|---|---|---|
| Ignoring pH | Nutrient lockout, deficiency symptoms despite adequate nutrients | Test pH every 2-3 days, keep 5.5-6.5 |
| Overfeeding nutrients | Nutrient burn — brown leaf tips, crispy edges | Start at half strength, increase gradually |
| No light or weak light | Leggy, stretched plants with tiny leaves | 14-16 hours under grow lights minimum |
| Using garden soil | Clogs system, introduces pests, blocks roots | Use only hydroponic media (clay pebbles, rockwool, perlite) |
| Not changing solution | Nutrient imbalance, salt buildup, pH crashes | Full reservoir change every 1-2 weeks |
| Transparent reservoir | Algae bloom in nutrient solution | Use opaque container or wrap in light-blocking material |
Upgrading Beyond Your First Kit
Once you have harvested your first crop successfully, the natural next step is expanding. Most growers follow this progression:
- Countertop or wick kit → Learn basics with herbs and lettuce (month 1-2)
- DWC bucket system → Grow larger plants like peppers and tomatoes (month 3-6)
- Multi-site NFT or vertical system → Scale up production for continuous harvesting (month 6+)
- Custom-built system → Design your own setup using our DIY hydroponics guide
The skills transfer directly between systems. pH management, nutrient mixing, and light scheduling are the same whether you are running a $30 wick system or a $300 vertical farm. Master those fundamentals on a cheap kit, then scale with confidence. That is roughly the path I took myself — a cheap wick jar first, then a DWC bucket, and only once those were boring did I add NFT and ebb-and-flow to the bench so I could compare them side by side instead of guessing which one I “should” prefer.
What is the best hydroponic kit for a complete beginner?
A DWC (Deep Water Culture) kit is the best starting point for most beginners. It is the simplest active system — just a reservoir, air pump, air stone, and net pots. A 4-6 site DWC kit costs $30-$60 and teaches you the core skills (pH management, nutrient mixing, water monitoring) that transfer to every other hydroponic system.
Are countertop hydroponic kits like AeroGarden worth the money?
Countertop kits like AeroGarden are worth it if you want zero-effort herb growing with no learning curve. They are not worth it if you want to grow vegetables at scale or learn transferable hydroponic skills. You pay a premium for convenience — a $150 AeroGarden grows 6 herb pods, while a $40 DWC kit grows 6 full-sized plants including peppers and tomatoes.
Do hydroponic kits come with grow lights?
Only countertop all-in-one kits include grow lights. Standalone DWC, NFT, and wick kits do not include lighting — you need to provide your own. Budget $40-$100 for a full-spectrum LED panel that covers a 2×2 foot growing area. Plants need 14-16 hours of light daily for healthy growth.
How often do you change the water in a hydroponic kit?
Change the entire nutrient solution every 1-2 weeks. Between changes, top off with plain pH-adjusted water as the level drops. Check pH every 2-3 days and adjust if it drifts outside the 5.5-6.5 range. Topping off with nutrient solution would cause concentration to rise over time.
Can I grow tomatoes and peppers in a hydroponic kit?
Yes, but only in DWC kits with 3-5 gallon reservoirs per plant. Tomatoes and peppers need large root space, strong lighting (300+ PPFD), hand pollination, and support stakes. They are not suitable for NFT, wick, or small countertop systems. Start with lettuce and herbs first.
What nutrients come with hydroponic starter kits?
Most kits include a small sample bottle of general-purpose hydroponic nutrients, enough for 2-4 weeks. After that, you need to buy your own. General Hydroponics Flora Series (three-part) and Masterblend (two-part) are the most popular and cost-effective options at $15-25 per bottle, lasting 3-6 months.
Related Articles
- Hydroponics for Beginners: Ultimate Guide — Complete getting started guide with step-by-step setup instructions
- Hydroponic Equipment: Complete Buying Guide — Budget shopping lists and must-have equipment recommendations for every setup
- Hydroponics for Beginners
- Hydro Indoor Garden Setup Guide
- Hydroponic Systems Explained: DWC, NFT, Ebb and Flow
- Essential Hydroponic Equipment
- DIY Hydroponics on a Budget
- Best Plants for Hydroponic Growing
- 7 Common Hydroponic Mistakes