Mixing hydroponic nutrient solution takes about 15 minutes for a 5-gallon reservoir. The exact sequence — water first, micronutrient bottle second, calcium-bearing parts third, pH adjustment last — matters more than the brand of nutrient you use. Skipping the order or rushing the pH adjustment is the leading cause of nutrient lockout in beginner systems.
This walkthrough covers a complete reservoir mix from start to finish, including dose tables for one-part and three-part nutrient systems, the order of operations that prevents calcium precipitation, and the pH and EC checks that confirm your mix is ready for plants. This assumes you have already chosen a hydroponic-specific fertilizer — if not, my guide to the best hydroponic fertilizers for 2026 covers the picks worth buying.
As an Amazon Associate I earn from qualifying purchases.
What You Need to Mix a Reservoir
A working hydroponic mixing setup costs about $40 to $80 in equipment that lasts years. The list is short and almost entirely reusable across crops.
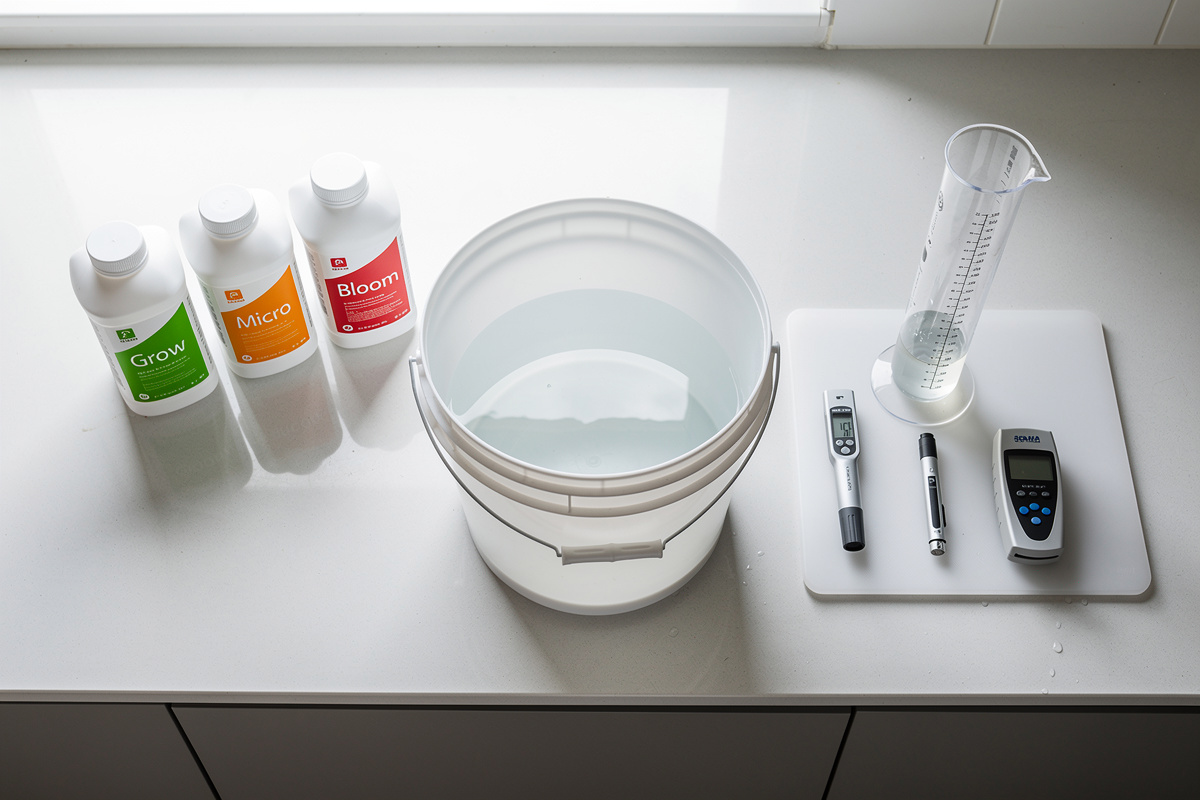
The non-negotiables are: a clean reservoir or bucket sized to your system (5 gallons is standard for beginners), your hydroponic nutrient bottles or powder, a set of graduated measuring syringes accurate to 1 ml, a digital pH meter calibrated within the last 30 days, a digital TDS meter calibrated within the last 30 days, pH Up and pH Down adjusters, and clean source water (tap water that has off-gassed for 24 hours, or filtered water).
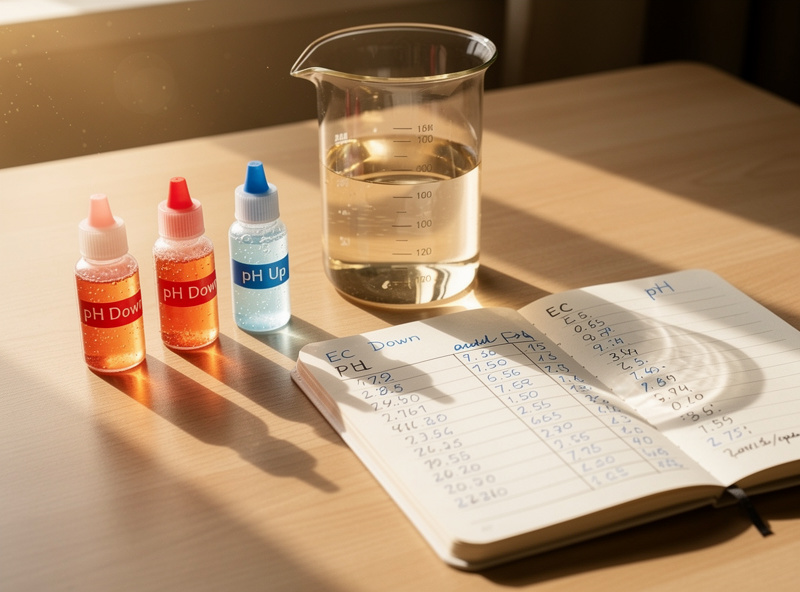
Optional but useful: a long stirring stick or paint mixer drill attachment, a thermometer to confirm water temperature is between 65 and 75 degrees Fahrenheit, and a notebook for tracking each mix’s starting EC, post-nutrient EC, and final pH. Recording these three numbers per mix makes troubleshooting effortless six months from now — the habit has saved me more than once when a crop stalled and the notebook was the only way to spot which mix went wrong. For the meter side specifically, my EC meter for hydroponics guide and Bluelab Truncheon buyer’s guide cover the gear that actually lasts.
Step 1: Prepare and Test Your Water
Start with the cleanest water you can reasonably get. Most municipal tap water works fine for hydroponics if you let it sit uncovered for 24 hours so chlorine off-gasses. Heavily chlorinated or chloraminated water (common in larger US cities) needs a dechlorinator — Seachem’s own dosing chart puts the standard rate at about 2 drops per gallon (1 capful per 50 gallons), doubled for heavy chloramine. Reverse osmosis or distilled water is the cleanest option but requires Cal-Mag supplementation.
Fill your reservoir to roughly 80% of the final target volume. You will add nutrients (which take up almost zero volume) and pH adjusters (which add a few milliliters) before topping off. Starting at 80% gives you headroom to test and adjust without overflowing.
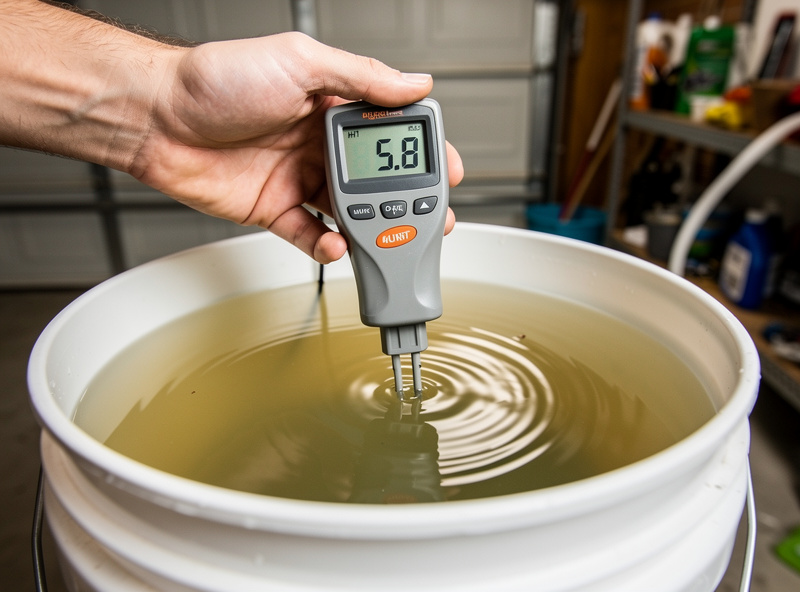
Now test starting EC and pH. Tap water typically reads EC 0.2 to 0.6 (background dissolved minerals) and pH 7.0 to 8.5 (slightly alkaline from municipal treatment). Write these baseline numbers down — knowing your water’s starting point makes every future mix faster because you can predict how much pH Down you will need.
Step 2A: Add Nutrients (One-Part Liquid or Powder)
One-part nutrients are the simplest case. Measure the manufacturer’s recommended dose for your crop and growth stage, pour it directly into the reservoir, and stir for 30 seconds. For most one-part liquids during vegetative growth, this is 5 to 8 ml per gallon — so a 5-gallon bucket gets 25 to 40 ml.
For dry powders like MaxiBloom or MaxiGro, the standard dose is 1 teaspoon per gallon (about 5 grams). Sprinkle the powder slowly onto the water surface while stirring, not all at once into a single spot — clumping creates undissolved pockets that take twice as long to fully blend. Stir for a full two minutes for powders to ensure complete dissolution.
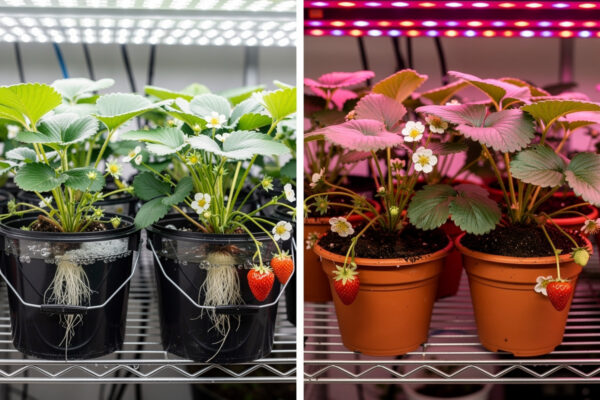
Wait three to five minutes after adding nutrients before testing EC. Some elements dissolve and stabilize slower than others, and a too-early reading will read low. After the wait, your EC should land in the target range for your crop: 0.8 to 1.2 for leafy greens, 1.0 to 1.6 for herbs, 1.4 to 2.0 for strawberries, 2.5 to 3.5 for tomatoes and peppers in fruiting (UF/IFAS HS1422 covers the reasoning behind the leafy-green end of that range).
Step 2B: Add Nutrients (Three-Part System)
Three-part systems require a strict mixing order. With the General Hydroponics Flora Series — the most common three-part system — the order is FloraMicro first, FloraGro second, FloraBloom third. Stir thoroughly between each addition and never combine concentrates outside of the reservoir.
The reason is calcium chemistry. FloraMicro contains calcium nitrate. FloraBloom contains phosphates and sulfates. If you mix them directly together at full concentration, the calcium precipitates with the phosphate and sulfate as insoluble white sludge — your nutrients are now physically out of solution and unavailable to plants. Pre-diluting in a large volume of water solves the problem because the concentrations stay low enough that precipitation does not happen.
Standard vegetative dose is 5 ml of each part per gallon. For a 5-gallon reservoir: 25 ml FloraMicro, stir 30 seconds; 25 ml FloraGro, stir 30 seconds; 25 ml FloraBloom, stir 30 seconds. Total 75 ml across the three bottles. Bloom-stage dose shifts to 1 ml Grow, 2 ml Micro, 3 ml Bloom per gallon for most fruiting crops. Reference dose tables from the bottle labels for crop-specific tweaks. The complete strategy behind these ratios is in my hydroponic nutrients complete guide.
Step 3: Add Cal-Mag if You Use RO or Distilled Water
If you started with reverse osmosis, distilled, or rainwater, add a Cal-Mag supplement before the final pH check. The standard dose is 5 ml per gallon for RO water and 2 to 3 ml per gallon for soft tap water (under 100 PPM background reading). Add Cal-Mag to the reservoir after the main nutrient mix and stir for 30 seconds.
If you skip Cal-Mag with RO water, the symptoms are unmistakable within two weeks: blossom end rot on tomatoes, yellow spots between leaf veins on basil, and stunted seedling growth. The fix takes one minute (add the supplement) but the affected plant tissue does not recover, so prevent the problem the first time.
Hard tap water (above 200 PPM background) usually contains enough calcium and magnesium that you can skip Cal-Mag entirely. Test your specific water before deciding — even within the same city, water hardness can vary significantly between neighborhoods, and on my own res logs I’ve seen tap readings drift noticeably between seasons, which is reason enough to re-test rather than assume last year’s number still holds.
Step 4: Adjust pH to 5.5–6.5
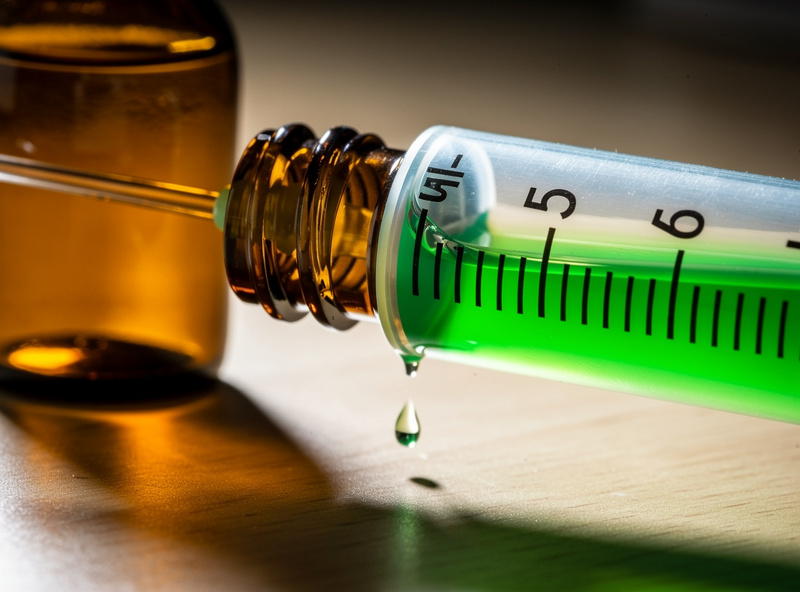
Test pH after all nutrients are mixed in, never before. The act of dissolving fertilizer changes the water’s pH significantly — usually pulling tap water down from pH 7.5 to around pH 5.8 to 6.2 just from the nutrient buffer. Often no adjustment is needed at all on a fresh mix.
If pH reads above 6.5, add pH Down. The critical rule: add it dropwise. Use the supplied pipette or a 1-ml syringe and add a single drop, stir for 30 seconds, retest. pH Down is concentrated phosphoric acid — a single milliliter can drop a 5-gallon reservoir by a full pH point. Overshooting means you have to add pH Up to compensate, which adds salts and complicates EC management.
If pH reads below 5.5, use pH Up the same way: one drop at a time, stir, retest. Most fresh hydroponic mixes do not need pH Up because nutrient buffers naturally pull pH downward, but heavy organic hydroponic nutrients (fish emulsion, compost tea, kelp blends) sometimes start above 6.5 and require it — the linked guide covers which organic sources cloud reservoirs and how to compensate. The full breakdown of pH adjuster chemistry, dosing math, and homemade alternatives is in my guide to pH Down for plants.
Step 5: Final Check and Top-Off
Top off the reservoir with plain source water (no additional nutrients) until you reach your target volume. Stir one more time. Re-test EC and pH after the final top-off — adding water dilutes both readings, roughly in proportion to how much volume you’re adding back (topping an 80%-full reservoir up to 100% drops EC by close to a fifth, not a rounding error, so don’t skip the re-test); pH usually shifts by less than 0.1 points.
If your final EC is below the target range for your crop, add a small amount of nutrient (10 to 20% of the original dose) and re-test. If above the target range, add plain water in 1-cup increments. If pH is outside 5.5 to 6.5, repeat the adjuster process from Step 4.
Record the final numbers in your notebook: starting EC, post-nutrient EC, post-Cal-Mag EC, final pH, and the date. After three or four mixes you will have a personal recipe that hits your targets reliably without re-testing every step.
Dosing Quick Reference Table
| Crop | Stage | Target EC | Target pH | One-Part Dose | 3-Part Dose (per gal) |
|---|---|---|---|---|---|
| Lettuce, spinach, leafy greens | Whole cycle | 0.8-1.2 | 5.8-6.2 | 4 ml/gal liquid or 1 tsp/gal MaxiGro | 4 ml Micro + 4 ml Grow + 1 ml Bloom |
| Basil, mint, herbs | Whole cycle | 1.0-1.6 | 5.5-6.5 | 5 ml/gal liquid or 1 tsp/gal MaxiGro | 5 ml Micro + 5 ml Grow + 1 ml Bloom |
| Strawberries | Vegetative | 1.4-2.0 | 5.5-6.0 | 6 ml/gal liquid | 5 ml Micro + 5 ml Grow + 5 ml Bloom |
| Tomatoes, peppers | Vegetative | 1.5-2.2 | 5.5-6.5 | 6 ml/gal liquid | 5 ml Micro + 5 ml Grow + 1 ml Bloom |
| Tomatoes, peppers | Flowering/fruiting | 2.5-3.5 | 5.8-6.3 | 8 ml/gal FloraNova Bloom | 2 ml Micro + 1 ml Grow + 5 ml Bloom |
Common Mixing Mistakes to Avoid
Three mistakes kill more first reservoirs than any others. The first is mixing concentrates together before they hit the water — this guarantees calcium precipitation in any multi-part system. Always pour each part directly into the reservoir, never combine bottles in a measuring cup.
The second is dumping pH adjusters in by the teaspoon. pH Down at full strength can crash a reservoir to pH 3 in seconds, killing roots within an hour. Always go drop by drop and stir between each addition — I crashed a reservoir to the low 4s doing exactly this on an early strawberry run, and it cost me two weeks of stunted growth before the plants recovered. The full troubleshooting playbook for what happens when this goes wrong is in my 7 common hydroponic mistakes that kill plants.
The third is skipping the post-nutrient EC check and assuming the manufacturer dose is correct for your specific crop, water, and growth stage. Brand recommendations are starting points, not endpoints. Verify with a meter every time.
Frequently Asked Questions
How long does it take to mix hydroponic nutrient solution?
About 15 minutes for a 5-gallon reservoir using a multi-part nutrient system. One-part nutrients can be mixed in 8 to 10 minutes. The slowest steps are the 3-minute wait for nutrients to fully dissolve and the dropwise pH adjustment.
What order do you mix hydroponic nutrients?
Water first, then micronutrient bottle (FloraMicro for GH Flora), then nitrogen-bearing part (FloraGro), then phosphorus-bearing part (FloraBloom), then Cal-Mag if using RO water, then pH adjusters last. Stir between every addition. This order prevents calcium precipitation.
Can you mix hydroponic nutrients ahead of time?
Yes for short periods. Mixed nutrient solution stays usable for 10 to 14 days in a covered reservoir with active aeration. Without aeration or in warm conditions, plan for 5 to 7 days before bacterial growth and pH instability force a fresh mix.
How much nutrient per gallon for hydroponics?
Standard doses are 5 ml per gallon for liquid concentrates during vegetative growth, or 1 teaspoon per gallon for dry powders like MaxiBloom and MaxiGro. Fruiting crops like tomatoes during bloom need 7 to 9 ml per gallon. Always confirm with an EC meter — the dose number is a starting point, not a final target.
Why do you have to mix hydroponic nutrients in a specific order?
Calcium chemistry. Calcium nitrate (in micronutrient bottles) reacts with phosphates and sulfates (in bloom bottles) to form insoluble precipitates if combined at full concentration. Pre-diluting calcium fully in water before adding the bloom part keeps everything in solution.
What if my hydroponic nutrient solution is too strong?
Add plain water to dilute. Drain 20 percent of the reservoir and refill with fresh source water if EC reads more than 0.5 above your target. Diluting nutrient solution is much faster and safer than letting plants suffer salt burn — over-strength solutions kill roots within 48 hours.