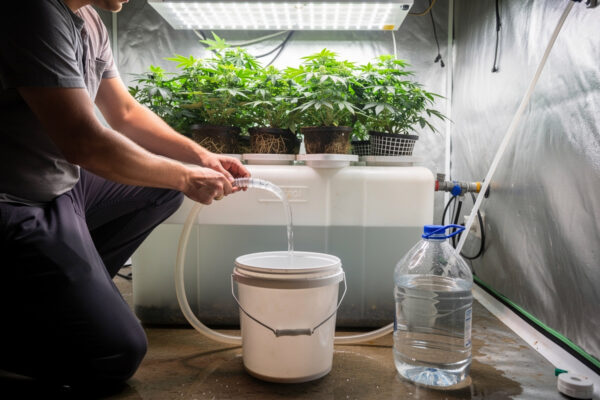
The water you start a hydroponic reservoir with sets a floor your nutrients cannot lift you above. My Swedish municipal tap runs about 0.7 mS/cm and 7.8 pH straight out of the wall, and the first time I ignored both numbers I dumped a freshly mixed res after four days of leaves that would not green up. This guide is everything I do to a water source before a single grain of Masterblend goes in.
Most hydroponic content starts at the nutrient bottle. That is the wrong end of the pipe. The minerals already dissolved in your source water — calcium, magnesium, carbonate, sodium, whatever the municipality adds for disinfection — are in the reservoir before you are, and some of them actively fight the salts you add on top. Get the source water right and the rest of the grow gets easier, more stable, and measurably cheaper. Get it wrong and you spend the cycle chasing pH, fighting precipitate, and wondering why a supposedly foolproof crop stalled.
Why Your Starting Water Matters More Than Your Nutrient Brand
Source water is the single largest variable you are not measuring. The fancy nutrient line gets all the forum attention, but it contributes a fixed, predictable amount of dissolved solids. Your tap contributes a moving target that changes seasonally, sometimes weekly, as the utility switches sources, flushes lines, or bumps disinfectant levels. On my bench I treat the incoming water as Ingredient Zero, and I log it the same way I log EC drift — because it drifts too.
Here is the part that catches new growers: the minerals in your source water are not neutral filler. The carbonate and bicarbonate that make water “hard” are also buffers, and they push your pH up and hold it there. The calcium already present means your CalMag addition is partly redundant — or, above a threshold, the thing that precipitates your phosphorus right out of solution as a white cloud. Disinfectant residuals, especially chloramine, do not just sit there; they react with organics and with the biology you may be trying to cultivate. None of this shows up in a feeding chart because feeding charts assume a blank-slate water you almost certainly do not have.
The economic case is real too. I have watched growers buy a $40 bottle of CalMag to add to tap water that already carried 120 mg/L calcium carbonate, then spend the next week fighting the chalky precipitate that formed when that excess calcium met phosphorus. The cheaper move was a partial RO blend and no CalMag at all. I break down exactly when that trade pays off in my honest RO threshold piece, but the short version: if you cannot name what is in your starting water, you are flying blind.
The Five Numbers I Read Before a Single Salt Goes In
Before I mix anything, five measurements come off the tap and into my logbook: electrical conductivity (EC), pH, alkalinity, temperature, and disinfectant residual. Each one answers a different question, and skipping any of them leaves a gap that bites later. Here is what each number tells you and the meter that reads it.
1. EC — how much is already dissolved
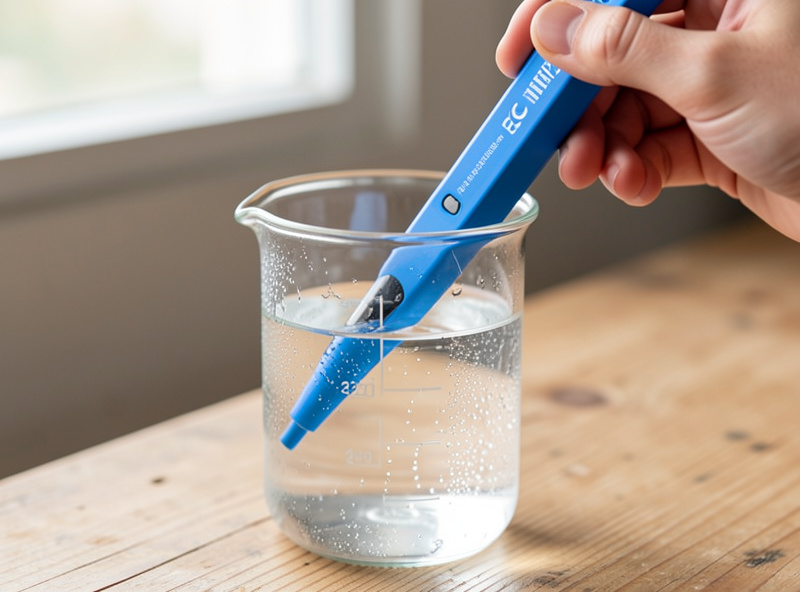
EC, measured in mS/cm (or its TDS translation in ppm), is the fastest read on how loaded your source water is. Blank water reads close to 0. My tap reads roughly 0.7 mS/cm, which is about 350 ppm on the 500 scale — a meaningful chunk of my total res budget before I add anything. Whatever your tap EC reads, that is the floor; your target crop EC is a ceiling you build on top of it, and the difference is what your nutrients are allowed to contribute. If you have never read your starting EC, a calibrated EC/TDS pen is the first tool to buy — and calibration matters more than brand. I walk through the full reading and calibration routine in the EC meter guide.
2. pH — acid or base out of the tap
Source pH tells you where you are starting, but on its own it is the least actionable number — because pH moves. A tap reading of 7.8 sounds bad for hydro (most crops want 5.5 to 6.5), but what actually matters is how hard that pH fights back when you push it down, and that is an alkalinity question, not a pH question. Still, log the raw number. A tap that suddenly reads two tenths different from last month tells you the utility changed something.
3. Alkalinity — the hidden driver of pH drift
Alkalinity is the buffering capacity of your water, reported as mg/L calcium carbonate, and it is the number almost no hobby grower measures even though it explains more res chaos than any other variable. Low alkalinity (under about 30 mg/L) and your pH swings wildly because nothing resists the change; high alkalinity (over about 120 mg/L) and your pH refuses to come down, drifting back up within hours of adjustment. This is the single biggest reason “my pH will not stay put” appears in every grow forum. I wrote a full piece on starting water alkalinity and pH drift because it deserves its own treatment — but if you take one thing from this section, take this: pH is the symptom, alkalinity is the disease.
4. Temperature — cold tap is a real problem in winter
In a Nordic winter the water coming out of my wall is 7 to 9°C, and pouring that straight into a res shocks roots, spikes dissolved oxygen momentarily and then collapses it as the res warms, and stalls nutrient uptake. I temper cold tap to room temperature before it ever touches a reservoir. This is not a hypothetical for me — it is a weekly routine from November to March, and I wrote up exactly how I handle it in the cold tap water and your res piece. The safe res operating band is roughly 18 to 20°C (65 to 68°F); above 22°C and you are in Pythium territory, below about 15°C and uptake slows.
5. Disinfectant residual — chlorine or chloramine?
Municipalities disinfect with either free chlorine or chloramine, and the difference is not academic. Free chlorine will gas off if you let the water sit or aeriate it; chloramine will not, and it requires active removal. The EPA allows up to 4.0 mg/L residual disinfectant (as chlorine) at the tap under the Maximum Residual Disinfectant Level, which is a lot for a res. Whether you need to remove it — and how — depends entirely on which one your utility uses, and I cover the full comparison and removal methods in the chlorine vs chloramine piece and the companion dechlorination methods guide.
Tap, RO, Well, Rain, Distilled — Which Source for Which Grow?
There is no universally best water source, only the best one for your tap, your crop, and your tolerance for fiddling. The table below is the shorthand I use when someone asks me what to run. It compares the five sources a hobby grower realistically has access to across the variables that actually matter at the reservoir.
| Source | Typical starting EC | pH / alkalinity behavior | Treatment needed | Best fit |
|---|---|---|---|---|
| Municipal tap (soft) | 0.1–0.4 mS/cm | pH ~7; low–moderate alkalinity, drifts but manageable | Dechlorinate (age or vitamin C) | Leafy greens, herbs, beginners on municipal soft water |
| Municipal tap (hard) | 0.5–1.0+ mS/cm | pH 7.5–8.2; high alkalinity fights pH Down | Dechlorinate + partial RO blend or CalMag skip | Fruiting crops if you blend; otherwise RO preferred |
| Well water | 0.3–2.0 mS/cm (variable) | Unpredictable; iron, sulfur, hardness common | Lab test first, then filter to the result | Only after a test proves it safe; never blind |
| Home RO unit | 0.0–0.05 mS/cm | pH ~6.0–6.5; near-zero alkalinity, pH swings fast | Re-mineralize with CalMag; buffer carefully | Hard-water growers, sensitive crops, full control |
| Distilled / rain | 0.0 mS/cm | Zero buffer; pH will not stay put unattended | Full re-mineralization from a blank slate | Blank-canvas mixing, seedlings, cloning |
| Softened tap (ion-exchange) | 0.5–1.0 mS/cm | Loaded with sodium; chemistry hostile to roots | Do not use — bypass the softener or go RO | None — I do not run softened water in a res |
A couple of notes on that table that the cells cannot hold. RO and distilled look identical on paper — both near-zero EC — but they behave differently in practice because RO strips everything including the buffering bicarbonate, leaving a water that swings pH hard the moment you add anything acidic. Rainwater collected off a clean roof is chemically similar to distilled but carries whatever dust, pollen, or bird debris hit the catch surface, so I filter it. And softened water deserves its own warning: the sodium an ion-exchange softener dumps in is the reason I wrote a whole piece on why softened water wrecks a res — short version, route a bypass or run RO instead.
How to Actually Test Your Source Water
Testing breaks into two tiers: what you can do on the bench in two minutes, and what you send away for. The bench tier covers EC, pH, temperature, and a chlorine/chloramine check; the lab tier covers the full mineral profile you need if your source is a well or if you are troubleshooting a stubborn problem.
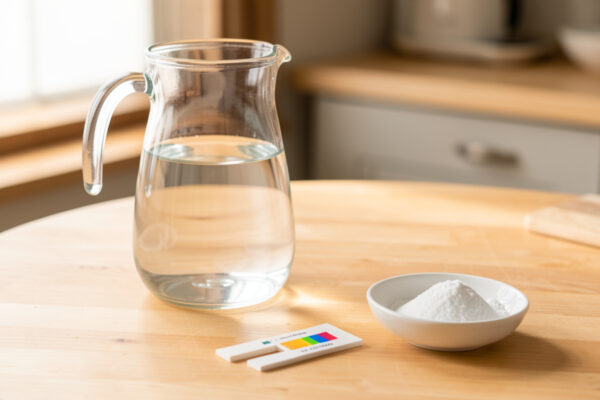
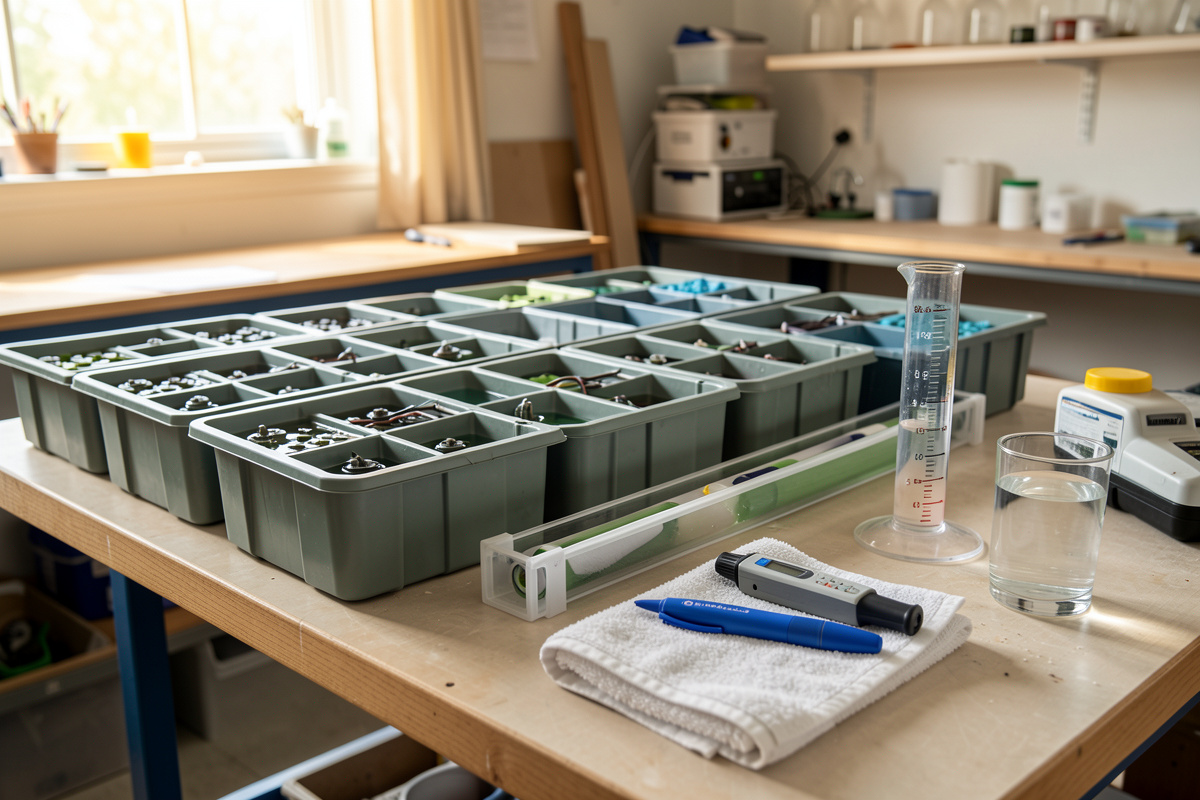
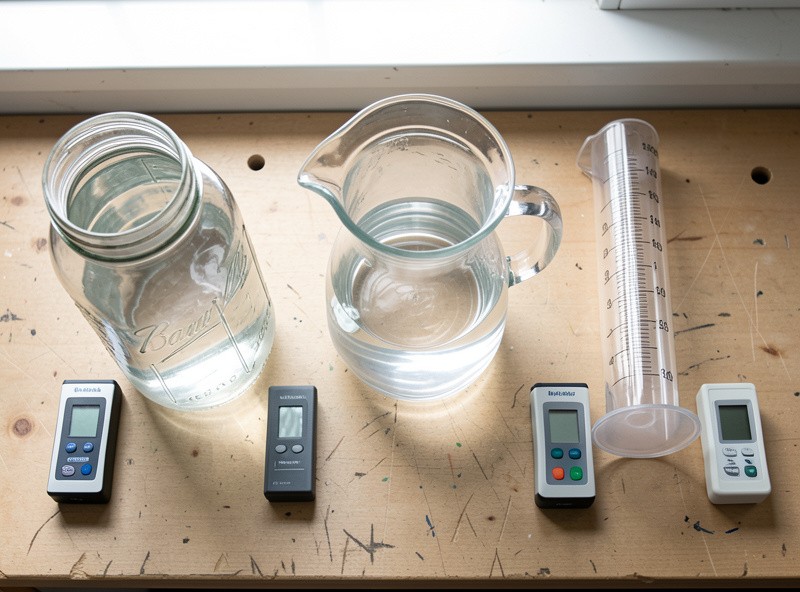
My bench routine takes one minute per res fill. EC pen in, read, log. pH pen in, read, log (I cross-check pH with drops occasionally because a drifting pen lies confidently). Thermometer in for the source temp. For disinfectant, a cheap pool-style test strip tells me free chlorine vs total chlorine in seconds — if total reads higher than free, the difference is chloramine, and that changes my treatment. Calibrate the EC pen in 1.413 mS/cm solution and the pH pen in 4.0 and 7.0 buffers on a schedule; an uncalibrated meter is worse than no meter because it gives you false confidence. The whole process is the same one I describe in the EC meter guide.
For well water — or any source where you do not have a municipality publishing a water quality report — send a sample to a lab. I will not put untested well water in a res, period, because the things that can be in it (iron at 5 mg/L, hydrogen sulfide, coliform bacteria, herbicide runoff from adjacent land) are not things a pen can see. A basic agricultural or drinking-water panel costs roughly $30 to $60 and tells you hardness, alkalinity, pH, iron, sodium, and the major ions. That single test changes a gamble into a decision. The full testing protocol is in the well water for hydroponics piece.
The easiest free data source for municipal users is your utility’s annual Consumer Confidence Report (the water quality report), which in the U.S. every community water system must publish. It lists the average and range of disinfectant residual, hardness, pH, and detected contaminants for the year. The EPA maintains the regulatory framework and the maximum contaminant levels behind those numbers at its Ground Water and Drinking Water resource, and the World Health Organization publishes the international guideline values in its drinking-water quality pages. Read your local report once a year; it tells you what to expect before the pen ever touches the water.
Treatment Decisions: When to Filter, Dechlorinate, or Restart with RO
Once you know what is in your water, treatment falls into three buckets: remove the disinfectant, remove the excess minerals, or remove everything and start from blank. Each costs a different amount of money and effort, and the right choice depends on your starting EC and your crop’s tolerance.
Bucket one — dechlorination only
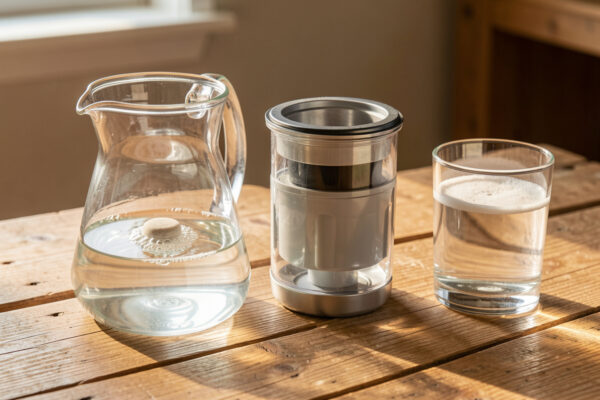
If your tap is soft (EC under about 0.4 mS/cm) and your utility uses free chlorine, you may only need to deal with the disinfectant. Free chlorine dissipates when water is left to sit uncovered for 24 hours, or faster if you aerate it with an air stone. If your utility uses chloramine, that trick does not work, and you need an active method: a catalytic carbon filter, vitamin C (ascorbic acid) at roughly 1 g per 40 liters, or Campden tablets (potassium metabisulfite) at a quarter tablet per 80 liters. The carbon filter is the set-and-forget option for a permanent install; the chemical methods are for batching. I run through every method with doses in the dechlorination guide.
Bucket two — filtration for specific problems
Sometimes the problem is not the whole mineral load but one offender. Iron in well water stains and feeds algae; a sediment filter followed by a carbon block handles most of it. Sulfur smell is hydrogen sulfide, and oxidation plus carbon is the fix. If hardness is the only issue and you do not want full RO, a partial blend — mixing your tap 50/50 with RO or distilled — cuts the EC and alkalinity in half while keeping some of the beneficial calcium and magnesium. A quality carbon block filter in line before your res handles chlorine, chloramine, and organics in one pass, and it is the single upgrade I recommend most often.
Bucket three — full RO for a blank slate
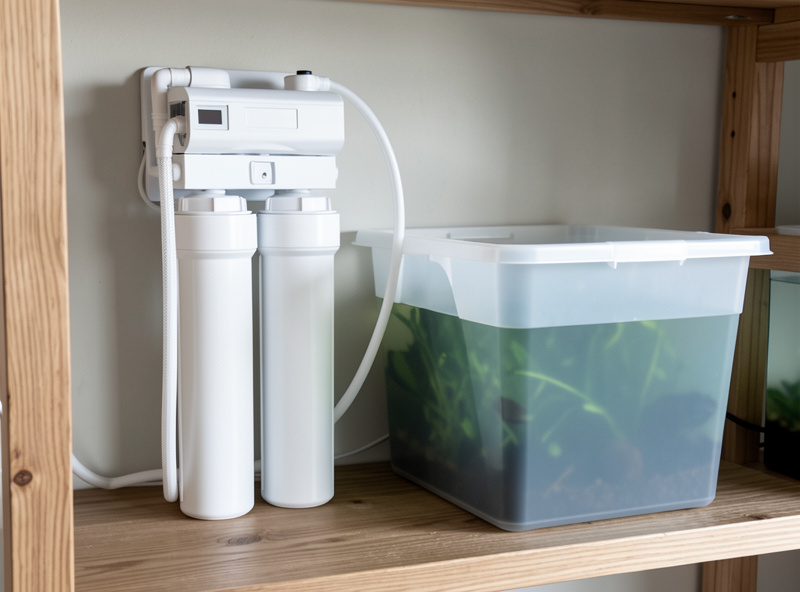
When your tap EC is too high to leave headroom for nutrients, or when alkalinity is so stubborn that pH Down is a daily fight, RO is the reset. A home under-sink or countertop reverse osmosis system rejects 95 to 98 percent of dissolved solids and drops your starting EC to near zero. The trade-offs are real: RO wastes about 3 to 4 liters of reject water for every liter of product, the membranes need replacement, and the resulting water has no buffer and no calcium, so you must re-mineralize and manage pH carefully. My honest threshold for when RO earns its keep — versus when a carbon filter and partial blend is enough — is laid out in the RO decision piece. For the broader tap-versus-RO framing, the RO vs tap water comparison on this site goes deeper.
Hard Water, Chloramine, and the Mistakes That Cost Me a Res
I have made every source-water mistake in this guide at least once, and two of them cost me a full reservoir. The first was hard-water calcium precipitation. My tap carries enough calcium that when I mixed a full-strength Masterblend bloom dose into straight tap, the calcium collided with the phosphorus in the bloom salt and dropped out of solution as a white cloud within the hour — visible chalk on the res walls and a res that no longer had the phosphorus the feeding chart promised. The fix was not more nutrient; it was starting from a partial RO blend so the calcium ceiling left room for the phosphorus to stay dissolved. I documented the chemistry and the fix in the Masterblend precipitation fix piece, and the underlying source-water dimension is in the hard water hydroponics guide.
The second mistake was assuming my municipality used chlorine when it had quietly switched to chloramine. I aged a batch of water overnight the way I always had, mixed a res, and added my usual beneficial bacillus inoculant — and watched the res stay sterile because the chloramine I had not removed killed the biology I had just paid for. Chloramine does not gas off the way free chlorine does; that is the entire reason utilities use it. A pool test strip reading “total chlorine higher than free chlorine” would have caught it in ten seconds, and now it is part of my bench routine. The lesson, which applies to every section of this guide: do not assume your water is stable, and do not assume a routine that worked last year still works this year. Utilities change sources and disinfectants, and the only constant is that your meter does not lie if you calibrate it.
There is a sensory tell on both of these that I have learned to trust. A res going precipitate-cloudy has a particular flat, mineral smell and a faintly gritty feel between fingers — calcium sulfate and calcium phosphate falling out. A chloramine-killed res smells faintly of pool and looks too clean, almost sterile, because nothing alive is in it. When the res smells right — faintly earthy, like a healthy aquarium — the water source and the biology are both fine. I trust my nose before I trust a feeding chart.
The Order of Operations — Source First, Then Nutrients
The sequence matters more than people think, and getting it backwards is a common root cause of unstable reservoirs. The correct order is: source the water, measure it, treat it, then add nutrients — not the other way around. Adding nutrients to untreated chloraminated water means the disinfectant reacts with your organic additives first. Adding pH Down to high-alkalinity water before the buffer is dealt with means you spend twice the acid fighting carbonate. Mixing into cold water means salts dissolve unevenly and some never go fully into solution.
Here is the exact bench sequence I run for every res change. One, fill the res or the batching vessel and let cold tap temper to room temperature. Two, read EC, pH, and temperature off the source and log them. Three, dechlorinate if the strip says chloramine or if I am in a hurry and the utility is on free chlorine — age overnight otherwise. Four, if I am blending RO, cut the tap to the target starting EC now, before any salt. Five, dissolve each salt separately — Micro first, then the partner salts — into the now-treated, temperature-correct water, which is the routine I detail in the nutrient mixing guide. Six, set pH last, because every addition moves it, and chasing pH mid-mix is wasted acid. Then and only then does the res get handed to the plants.
This sequence plugs directly into the rest of the reservoir workflow. Once the source water is treated and the res is mixed, the ongoing job is the top-off and EC drift management routine, the scheduled water change cadence, the periodic reservoir clean and sterilize, and the constant attention to dissolved oxygen and res temperature. The full reservoir picture — sizing, temperature, oxygen, maintenance — is in the reservoir guide. All of that downstream work assumes the upstream water was right. If it was not, no amount of top-off discipline saves you.
What I Would Do Starting Today
If I were setting up a hydroponic bench from zero and knew nothing about my tap, here is the exact sequence. Buy a calibrated EC pen and pH pen first — before nutrients, before a system. Read your tap water cold and log the numbers. Pull your utility’s water quality report and confirm whether you are on chlorine or chloramine. If your starting EC is under about 0.4 mS/cm and you are on free chlorine, you can likely run tap with a carbon filter and an overnight age, no RO needed. If your EC is over 0.6 mS/cm or your utility is on chloramine, budget for either a partial RO blend or a full RO unit and learn the re-mineralization routine. Test your source water the same way every time, write it down, and treat any sudden change as a signal to re-test, not a fluke.
The growers with the most stable reservoirs are not the ones with the most expensive nutrients. They are the ones who know exactly what is in their water before they add anything to it. Source first, nutrients second, pH last — every res, every time. The rest of this cluster breaks each of those decisions into its own deep-dive, and the links throughout this guide take you straight to the one you need.
As an Amazon Associate I earn from qualifying purchases.
Do I need to treat my tap water before using it in hydroponics?
Usually yes. Municipal tap contains a disinfectant residual (up to 4.0 mg/L under the EPA maximum) and dissolved minerals. At minimum, remove the chlorine or chloramine; if your tap EC is above roughly 0.6 mS/cm, consider a carbon filter or a partial RO blend before mixing nutrients.
What is the ideal EC for starting water in hydroponics?
Lower is better and more predictable. Many growers aim for a starting EC under about 0.3 mS/cm so nutrients have headroom. My own tap runs around 0.7 mS/cm, which is why I blend with RO. Near-zero EC water (RO or distilled) needs re-mineralization with calcium and magnesium.
Will letting tap water sit remove chlorine?
Free chlorine yes, chloramine no. Free chlorine gases off in about 24 hours, faster with aeration. Chloramine is more stable and requires an active method such as a catalytic carbon filter, ascorbic acid (vitamin C), or Campden tablets (potassium metabisulfite).
Is softened water safe for a hydroponic reservoir?
No. An ion-exchange softener replaces hardness minerals with sodium, and the sodium load is hostile to roots. Route a bypass line to an unsoftened tap, or run reverse osmosis on the softened line instead.
Do I need a reverse osmosis system for hydroponics?
Only if your tap EC is too high to leave room for nutrients, your alkalinity makes pH unstable, or your utility uses chloramine and you want a one-pass fix. Soft tap under about 0.4 mS/cm on free chlorine usually does not justify the cost and waste water of RO.
How often should I test my source water?
Read EC, pH, and temperature every res fill. Run a chlorine or chloramine strip whenever the utility might have switched disinfectant. For well water, send a sample to a lab at least once and re-test seasonally, because well composition changes with the water table.
Keep Building
This guide is the hub. Each spoke below takes one source-water decision and goes deep on the bench process, the chemistry, and the numbers from my own logs.
- Hard Water Hydroponics: Reading Your Starting EC and Adjusting
- Chlorine vs Chloramine in Tap Water: What Actually Needs Removing
- Dechlorinating Tap Water for a Res: The Methods That Work
- Starting Water Alkalinity: The Hidden Driver of pH Drift
- Well Water for Hydroponics: Testing Before You Trust It
- Why Softened Water Wrecks a Res and What to Use Instead
- Do You Need an RO System? My Honest Threshold
For the broader reservoir picture once your source water is sorted, the RO vs tap comparison and the main reservoir guide pick up where this leaves off.