I grow indoors in Sweden, where the winter sun barely clears the rooftops for a few hours a day. That single constraint is why lighting stopped being an afterthought on my bench and became the thing I measure most obsessively. You can dial in a perfect reservoir — EC pinned, pH locked in the 5.5–6.0 band, dissolved oxygen pushed high — and still grow pale, stretched, disappointing plants if the light is wrong. Hydroponic grow lights are not where you save money. They are where the harvest is decided.
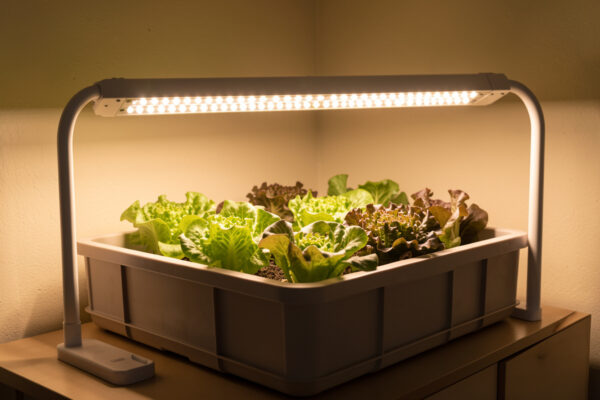
This is the guide I wish I’d had when I bought my first fixture: a cheap blurple panel that promised the moon and delivered a windowsill’s worth of usable light over a tote of lettuce. Since then I’ve run quantum-board-class LED bars and panels over DWC, NFT, Kratky and ebb-and-flow systems side by side, measured the output with a PAR meter instead of trusting the box, and logged what actually happened to the crops underneath. Below is how I choose, hang, and schedule lighting for soilless growing — measurement first, marketing last.
Why Light Is the Hardest Variable in Hydroponics
Of every input a hydroponic grower controls, light is the one most growers under-buy and over-trust. Water, nutrients and air are forgiving — plants tolerate a wide band and tell you quickly when something is off. Light is unforgiving in a quiet way: a plant under too little light won’t die, it will just slowly disappoint you, stretching for weeks while you blame the nutrients.
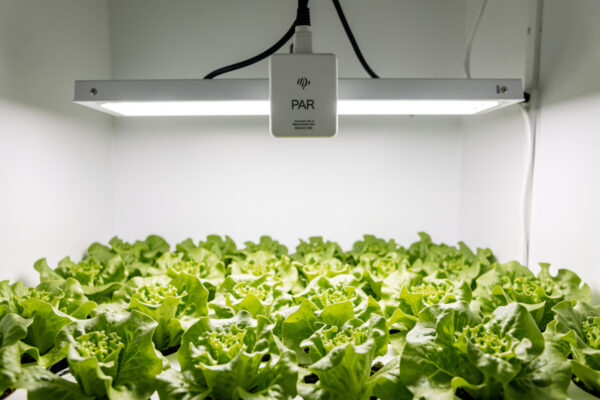
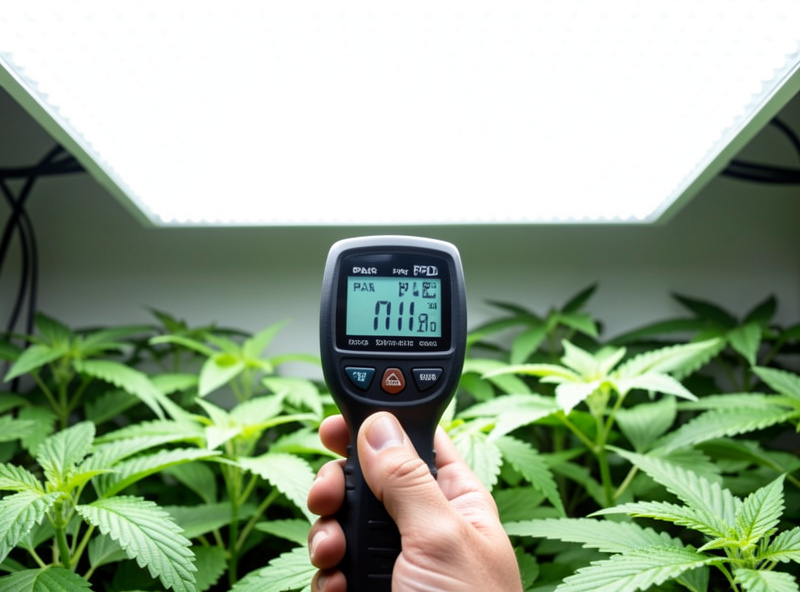
The trap is that the human eye is a terrible light meter. A fixture can look blindingly bright and still deliver a feeble photon count at canopy height, because brightness as we perceive it is weighted toward green-yellow wavelengths that plants reflect rather than use. That’s why I stopped buying lights on lumens or wattage claims and started buying on measured PPFD — the actual count of photosynthetic photons landing on the leaves. Until you separate “looks bright” from “grows plants,” every other lighting decision is a guess.
There’s a second trap that catches even careful growers: coverage falls off at the edges. Manufacturers quote a center reading directly under the diodes, but the corners of a tote often see half that. The first time I mapped my own panel with the PAR meter — center, edges, corners — I found my outermost net pots were getting roughly 40 percent of the photons my center plants enjoyed, which perfectly explained why those edge plants were always the runts. A grow light isn’t one number; it’s a map. I now sketch a five-point reading for every fixture before I trust it, and I rotate plants through the bright center over a grow cycle the way you’d rotate a baking sheet. It’s the kind of thing you only learn by measuring, never by reading the box.
This is also where the cheap appliance gardens fall apart. The countertop units I review — the AeroGardens and Click-and-Grows of the world — bundle a perfectly adequate light for a tray of herbs, but the moment you try to grow anything taller or denser, that fixed, low-output strip can’t keep up and there’s no way to add intensity. Buying light as a sealed appliance feature instead of a measurable, upgradeable input is the single most common reason a first hydroponic grow underwhelms.
The Four Numbers That Actually Matter
Forget wattage and “equivalent to a 1000W HPS” marketing. Four measurements decide whether a light grows a crop, and all four are about photons reaching the leaf, not power going into the wall.
PPFD (Photosynthetic Photon Flux Density) is the instantaneous photon count hitting a square meter of canopy each second, in micromoles. It’s what my PAR meter reads. Leafy greens are happy in the 200–400 range; fruiting crops want 400–600 and tolerate more. DLI (Daily Light Integral) rolls PPFD across the photoperiod into a daily total — the figure that actually predicts growth. Spectrum is the mix of wavelengths, which shapes plant morphology as much as it feeds photosynthesis. Efficacy (µmol per joule) tells you how much usable light you get per unit of electricity — the number that decides your running cost over a Nordic winter. Master those four and the brand on the box stops mattering.
Of the four, DLI is the one I lean on hardest, because it’s the number plants actually respond to and the one that ties light to schedule. DLI is just PPFD multiplied by seconds of light per day, converted to moles per square meter per day. A lettuce crop happy at 250 PPFD for 16 hours lands around a 14 mol DLI — comfortably in the sweet spot for leafy greens. The reason this matters is that DLI gives you two levers for the same target: you can run a brighter light for fewer hours, or a gentler light for longer. In a Nordic winter where electricity is the cost and there’s no free daylight to supplement, that flexibility is how you keep a grow affordable without starving the plants. I keep a small DLI table taped inside the grow cupboard and check new fixtures against it before anything goes over a crop.
Efficacy is the number the marketing buries because it exposes the cheap fixtures. A modern quality LED bar runs in the 2.5–2.9 µmol/joule range; a budget panel might manage 1.6, and an old fluorescent strip barely 1.0. That gap means the cheap light needs nearly twice the electricity to put the same photon count on your canopy — and over a six-month indoor season, that difference dwarfs the price difference at purchase. I learned to read the µmol/joule figure the way I read EC: it’s the honest number, and a fixture that won’t publish it is telling you something.
LED vs HPS vs CMH: What I Run and Why
The lighting wars used to be HPS versus everything. For a hobby hydro grower in 2026, that argument is settled, and I’ll say it plainly: I run LED, full stop. Modern quantum-board and bar-style LED fixtures match or beat HPS efficacy, run cool enough to hang close to a canopy without cooking it, and don’t dump the heat load that forces you to fight your reservoir temperature all summer. In a small indoor space, the heat HPS throws is a liability, not a feature — I spent more than one summer chilling a res that a hot lamp had warmed past 72°F.
HPS and CMH still have committed users in larger rooms where the heat is welcome and the upfront cost per watt is lower, and commercial operators report CMH spectrum quality they like for finishing. But for the soilless hobbyist running totes and channels in a spare room, LED’s combination of efficiency, low heat and spectral control is the easy call — and it’s part of why I treat lighting as the costliest place to cut corners, the same way I argue in my hydroponic equipment buying guide.
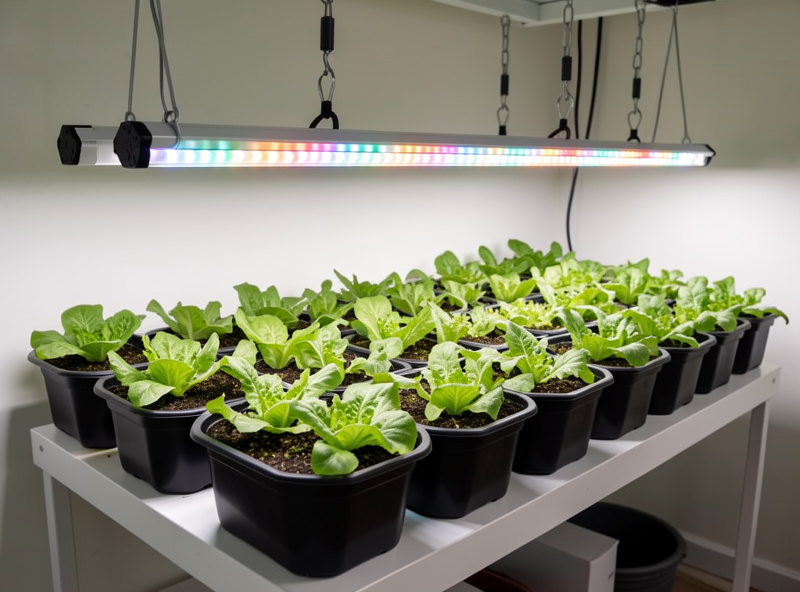
Spectrum: Full-Spectrum vs the Old Red-Blue Blurple
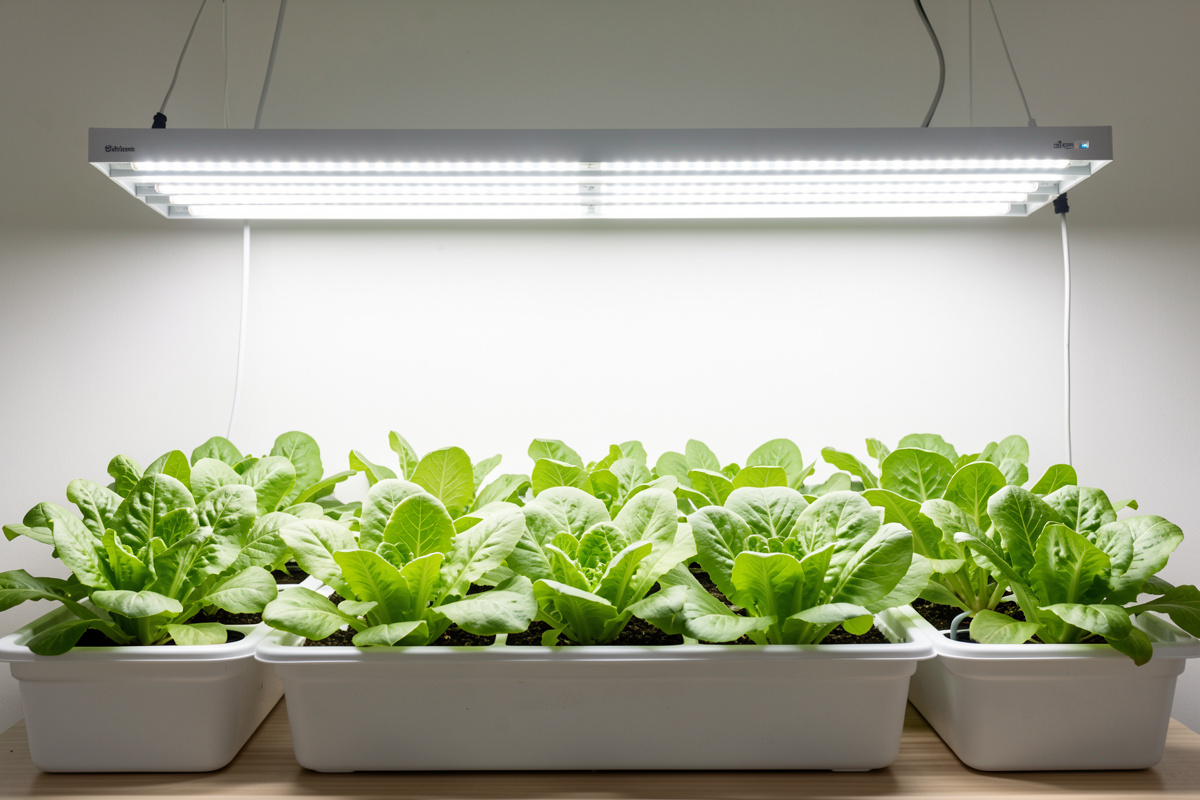
If you’ve seen those purple “blurple” panels, you’ve seen the first generation of LED grow lights, built on the idea that plants only use red and blue. They do use those most heavily — but the science moved on, and so did my bench. White full-spectrum LEDs (warm white diodes with supplemental deep red) grow visibly sturdier plants in my side-by-side runs, and they have a practical advantage the spec sheets never mention: you can actually see your plants under white light, which means you spot a deficiency or the first speck of powdery mildew days earlier than you would under a magenta haze.
Green light, long dismissed as “wasted,” penetrates deeper into the canopy than red or blue and drives photosynthesis in lower leaves — one reason full-spectrum white outperforms narrow red-blue on dense crops. There’s a real spectrum debate where targeted red-blue still earns a narrow seedling-only place, and it overlaps directly with the dual-use spectrum I run for both hydroponics and seed starting.
Hanging Height: The Free Adjustment Everyone Gets Wrong
Mounting height is the single most powerful tuning knob you own, and it costs nothing. Photon density falls off fast as a fixture rises, so a light that delivers a punishing PPFD at 12 inches can be feeble at 30. Hang too close and you bleach the tops; hang too far and you grow leggy, stretched seedlings reaching for the source.
I set every fixture by meter, not by the manufacturer’s chart, because their chart assumes their reflector, their room and their reflective walls — not mine. I raise or lower until the PAR reading at canopy matches the target for the crop stage, then I let the plants grow up toward the light and re-measure weekly. The same measure-don’t-guess instinct runs through how I handle every input, from light height to my EC meter readings.
The clearest tell that a light is hung wrong is the plants themselves. Stretched, leggy stems with long gaps between leaf sets mean the light is too far away and the plant is reaching — drop the fixture or the plant will keep wasting energy on stem instead of leaf. Pale, bleached, or curling tops on the plants closest to the light mean it’s too close and you’re light-burning the canopy; raise it a few inches and the next growth comes in normal. Between those two failure modes is a band where the plant grows compact, deep green, and dense, and once you’ve seen it under a meter a few times you start to recognize it by eye. But I still verify with the PAR reading, because eyeballing it is exactly the habit that got me a tray of stretched seedlings in my first winter.
One detail the charts never mention: dimmable fixtures change this whole calculation. If your light has a dimming dial, you don’t have to physically move it to hit a target — you set the height once for even coverage and dial the intensity up as the crop matures. That’s how I run mine now. A fixed-output light forces you to chase height; a dimmable one lets you hold geometry and tune photons, which is both easier and gentler on young plants. It’s the single feature I’d pay extra for on any new fixture.
Photoperiod and Scheduling: The Smart-Plug Layer
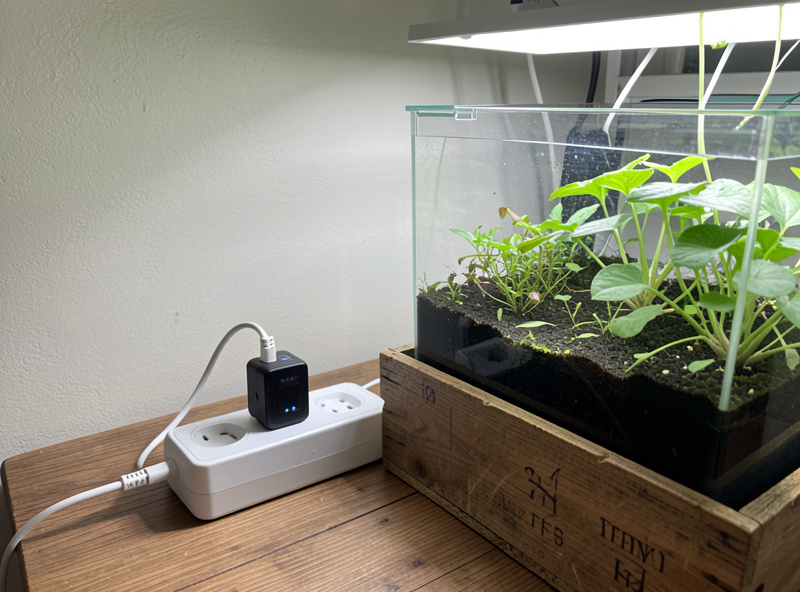
Hydroponics is a control loop, and the photoperiod is the clock that drives it. Leafy greens and herbs run beautifully on 14–18 hours of light; flip a photoperiod-sensitive crop to a shorter day and you trigger flowering. I never run lights manually — a $12 smart plug or timer handles the schedule, and the “smart” in SmartHydroLab is exactly this: sensors, schedules, and intervention only when the loop fails.
Consistency matters more than perfection here. Plants entrain to a stable light/dark cycle the way a sourdough starter entrains to a feeding rhythm, and a wandering schedule stresses them. I lean on the same automation thinking — schedules, sensing, intervention only on failure — that I use across my smart hydroponic sensor setup.
Matching Light to Crop and System
Leafy greens and herbs — the bread and butter of home hydro — are gloriously easy to light. They don’t flower, they tolerate a wide PPFD band, and a modest full-spectrum bar over a tote of lettuce or a tray of basil produces dense, sweet growth without exotic gear. Fruiting crops like tomatoes and peppers are hungrier, demanding higher PPFD and a longer, more deliberate DLI to set and ripen fruit. The crops themselves are covered in my hydroponic herb garden guide and the hydroponic lettuce comparison — both of which live or die on the light above them.
System type changes the lighting geometry too. A vertical or stacked setup needs even coverage across height, while a single DWC tote just needs uniform intensity over its footprint. Whatever method you run — and I run all four, detailed in my complete hydroponic systems guide — the lighting principles hold: measure the photons, match them to the crop, and schedule the photoperiod like a machine.
The Cost Math Nordic Growers Can’t Skip
Here’s the angle warm-climate channels never have to solve: when your free outdoor light is near-zero for months, every photon comes off your electricity bill, and fixture efficacy stops being a spec and becomes a budget line. A high-efficacy LED at 2.7 µmol/joule versus a tired one at 1.8 isn’t a rounding error over a dark Swedish winter — it’s the difference between an affordable grow and an expensive one. The “cheap” $40 light that needs replacing and sips power inefficiently is, in my logs, the most costly grow you can run. Buying efficacy up front is how I keep continuous winter growing economical, and it pairs naturally with an off-grid solar approach if you’re sizing a system around limited power.
Comparison: Grow Light Types at a Glance
| Light type | Efficacy (µmol/J) | Heat output | Best for | My take |
|---|---|---|---|---|
| Full-spectrum LED (quantum board/bar) | 2.3–2.9 | Low | All hydro, small indoor spaces | What I run on every system |
| Red-blue “blurple” LED | 1.5–2.0 | Low | Budget seedling light only | Outdated; hard to inspect plants |
| HPS | 1.7–2.1 | High | Larger rooms, cool climates | Heat fights your reservoir |
| CMH/LEC | 1.7–1.9 | High | Finishing, spectrum quality | Niche; commercial growers report success |
| Fluorescent (T5) | 0.9–1.1 | Low | Seedlings, microgreens | Fine for starts, weak for growth |
My Lighting Buying Rules
After enough fixtures passed across my bench, the buying decision boils down to a short checklist. Buy on measured efficacy and a real PPFD map, not wattage. Choose full-spectrum white over red-blue unless you have a narrow seedling-only reason. Size the fixture to your footprint with headroom to dim — a dimmable driver is the most underrated feature on a grow light, because it lets one fixture serve seedlings and mature canopy alike. And budget for a PAR meter or borrow one, because without measurement you’re back to trusting the box — the same principle behind the meters I rely on for EC.
A solid full-spectrum LED bar for a small hydro setup is one of the better-value pieces of gear you can buy — here’s a current selection of full-spectrum LED grow bars on Amazon in the class I run. As an Amazon Associate I earn from qualifying purchases.
The Lighting Mistakes That Cost Me Crops
Every confident verdict in this guide is the scar tissue from a mistake I actually made. The first and biggest: under-buying intensity to save money. A panel that’s “rated for a 2×2 area” on the box is almost always rated at a generous center reading and a generous mounting height; in practice it covered about a 1.5×1.5 footprint at usable PPFD on my bench. Buy the light sized one step larger than the area you think you need, and dim it down rather than running a small light flat-out.
The second: ignoring the photoperiod’s consistency. I once ran lights off a wall switch I flipped “around” the same time each day, and the plants showed it — uneven growth, sulky herbs. The moment I put the whole rig on a cheap programmable timer, the inconsistency vanished. A grow light without a timer is a half-finished system.
The third: trusting “watts” as a proxy for output. Two fixtures pulling identical wattage can put wildly different photon counts on a canopy depending on diode quality and efficacy. I’ve measured a 100W bargain panel that under-performed a 65W quality bar at the same height. Wattage tells you what you pay the utility, not what the plants receive.
The fourth, and the subtlest: forgetting that light interacts with everything else. Push intensity up and the plants transpire faster, drink more, and shift the EC of the reservoir between top-ups; they also demand more from the nutrient line, which is why a lighting upgrade often surfaces a nutrient deficiency that was hiding under slow growth. More light isn’t free — it accelerates the whole system, and the rest of your inputs have to keep pace. I treat a lighting change the way I’d treat any change to a control loop: adjust one variable, then watch the others respond before touching anything else.
Where to Start
If you take one thing from this guide: light is a number, not a vibe. Pick a full-spectrum LED with honest efficacy, hang it by meter for your crop, schedule the photoperiod on a timer, and verify with a PAR reading instead of your eyes. Everything else — spectrum nuance, hanging-height fine-tuning, crop-specific targets — is refinement on top of that foundation. Start with the spoke that matches your next decision below, and build your lighting the way I build every res: measured, repeatable, and honest about what’s actually reaching the plant.
New to soilless growing entirely? Start with my hydroponics for beginners guide and the best indoor hydroponic gardens guide, then come back here once your system is running. If you’re choosing a method first, the best plants for hydroponics and common mistakes that kill plants will save you a wasted crop. Lighting is where you’ll spend the most attention — and get the most back.
Frequently Asked Questions
What kind of grow light is best for hydroponics?
A full-spectrum LED fixture is the best choice for hydroponics. Modern LED bars and quantum boards deliver high efficacy, run cool enough to hang close without overheating your reservoir, and let you actually see your plants to spot problems early.
How much PPFD do hydroponic plants need?
Leafy greens and herbs thrive at 200 to 400 PPFD, while fruiting crops like tomatoes and peppers want 400 to 600 PPFD. Measure at canopy height with a PAR meter rather than trusting the manufacturer chart, since real readings vary by room.
Are full-spectrum LEDs better than red-blue blurple lights?
Yes, for most growers. Full-spectrum white LEDs grow sturdier plants, let you inspect for deficiencies and pests under natural-looking light, and use green wavelengths that penetrate deeper into the canopy. Red-blue panels are now mostly a budget seedling option.
How far should a grow light be from hydroponic plants?
It depends on the fixture power and crop stage, so set height by PAR meter rather than a fixed inch number. Raise the light until the reading at canopy matches your target, then re-measure weekly as plants grow toward it.
How many hours should hydroponic grow lights stay on?
Leafy greens and herbs grow well on 14 to 18 hours of light per day. Use a timer or smart plug for a consistent photoperiod, since a stable light and dark cycle matters more to plants than chasing the maximum number of hours.
Do I really need a PAR meter to grow hydroponically?
You do not strictly need one, but it removes the guesswork. The human eye misjudges grow-light intensity badly, so a PAR meter is the single tool that tells you whether your light is actually delivering enough photons at canopy height to grow the crop you want.